Step 1 of 12
Add: 2 × orange 2 × 4 plate

Lay two orange 2 × 4 plates lengthways, with two clear stud columns between them. These are the two back arms.
See the model
Eight chunky orange arms surround a rounded head and two wide eyes. Count the arms together, then invent a story about what your sea creature finds.

Match the shape, size and colour to the parts pictures. A stud is a round bump on top. Count rows and columns from one edge.
New pieces keep their full colour. Earlier pieces are lighter. Keep the front of the model facing you unless a step says to turn it.
Gather all the pieces first, then take each step at your own pace. Help your child press pieces together and lift removable parts gently.
All eight arms are fixed. Move the complete model gently by its body.
The round eyes use ordinary bricks, with no printed faces.
Gather pieces
Colours show the pictured version. Cream represents Tan and brown represents Reddish Brown. Match shapes and quantities first; other colour choices have not been checked for this edition.
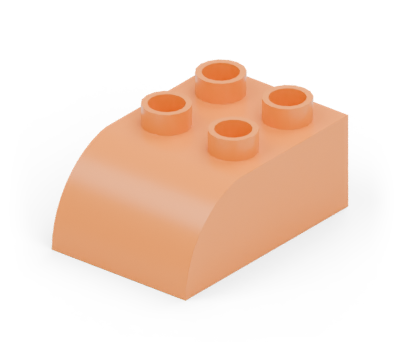
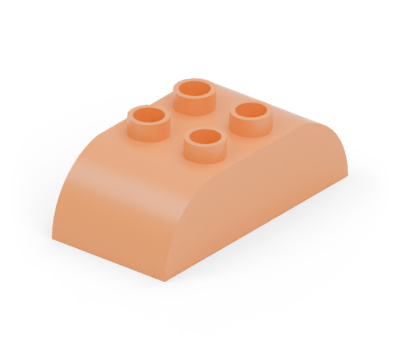
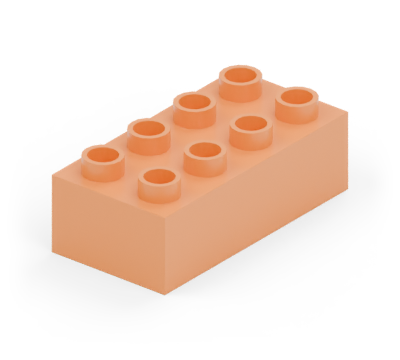
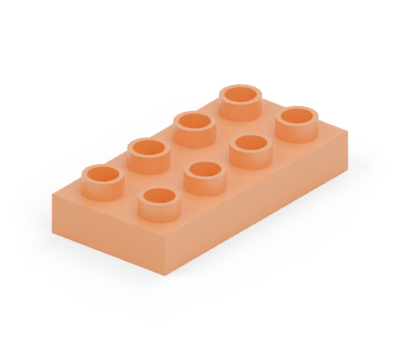
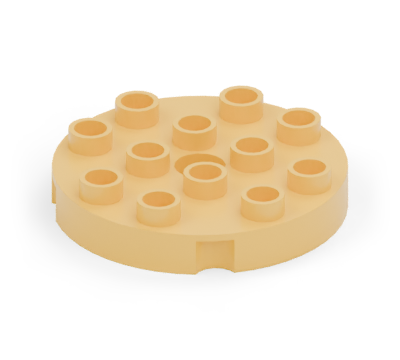
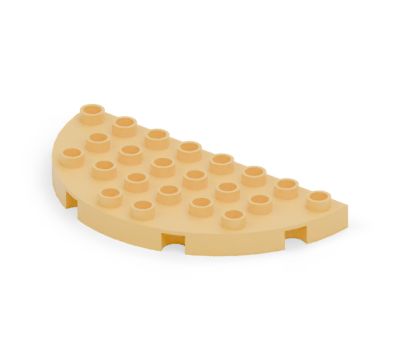
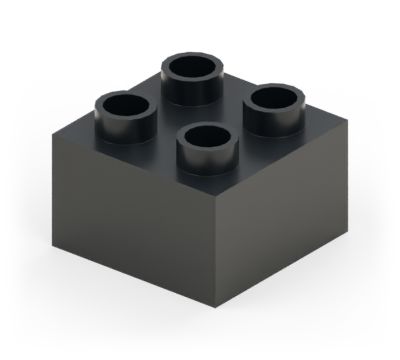
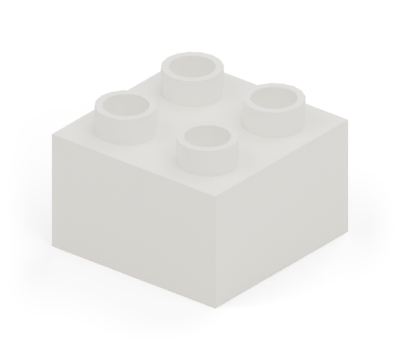
Total: 29 pieces
Build
New pieces are in colour. Earlier pieces are lighter.
Add: 2 × orange 2 × 4 plate
Lay two orange 2 × 4 plates lengthways, with two clear stud columns between them. These are the two back arms.
Add: 4 × orange 2 × 4 plate

Add two orange 2 × 4 plates on each side, turned across the first pair. Leave one clear row between the two plates on each side. Their inner two columns sit under the future body.
Add: 2 × orange 2 × 4 plate

Place two more orange 2 × 4 plates side by side at the front. Centre this pair across the body and leave five clear rows between the back and front pairs.
Add: 2 × yellow 8 × 4 semicircular plate

Join the arms with two yellow semicircular plates. Put their straight edges together to make a circle, with the join running from left to right.
Add: 1 × yellow 4 × 4 round plate

Join the two semicircles with a yellow round plate centred on their join. Leave two rows of the body showing behind it.
Add: 2 × orange 2 × 3 curved brick

Round the two back arms with orange curved bricks, rounded ends pointing away from the round body. Each tip overhangs its arm plate by one row.
Add: 4 × orange 2 × 3 curved brick

Put an orange curved brick on each outer arm end. Point the left pair to the left and the right pair to the right. Each tip overhangs its plate by one column.
Add: 2 × orange 2 × 3 curved brick

Round the two front arm ends with orange curved bricks. Point their curved ends forwards, with one row projecting beyond the plates.
Add: 2 × orange 2 × 4 brick

Put two orange 2 × 4 bricks side by side on the round plate.
Add: 2 × orange 2 × 4 brick

Put two more orange 2 × 4 bricks directly on the first two to make a taller head.
Add: 2 × orange 2 × 4 double-curved brick

Cap the head with two orange double-curved bricks side by side. Line them up with the bricks beneath.
Add: 2 × white 2 × 2 brick; 2 × black 2 × 2 brick

Put two white square bricks in front of the head, with two clear columns between them. Add a black square on each for two separate eyes.
Ready to play

Geometry: LDraw Parts Library. Part sources · Model and inventory · Render record
Revision 6c51b7ec9b3f3746c71def6fe108256467ea4c626e62ae794bd5835ebfed01f7
Part and colour evidence. The bus wheelbase mould variant remains unverified.
These new revisions have digital checks. They do not carry a new physical-test claim.