Step 1 of 14
Add: 2 × brown 8 × 4 semicircular plate

Place two brown semicircular plates with their straight edges together, making a round nest. The join runs left to right.
See the model
A white, faceted egg sits in a brown nest. Lift the complete cap to discover a tiny green dragon, then lift the hatchling out for its first adventure.

Match the shape, size and colour to the parts pictures. A stud is a round bump on top. Count rows and columns from one edge.
New pieces keep their full colour. Earlier pieces are lighter. Keep the front of the model facing you unless a step says to turn it.
Gather all the pieces first, then take each step at your own pace. Help your child press pieces together and lift removable parts gently.
The cap lifts off as one connected piece. The hatchling lifts out after the cap.
The hatchling is included in this guide and parts list. Its horns and head are fixed.
Hold the egg by the lower shell when carrying it.
Gather pieces
Colours show the pictured version. Brown represents Reddish Brown. Match shapes and quantities first; other colour choices have not been checked for this edition.
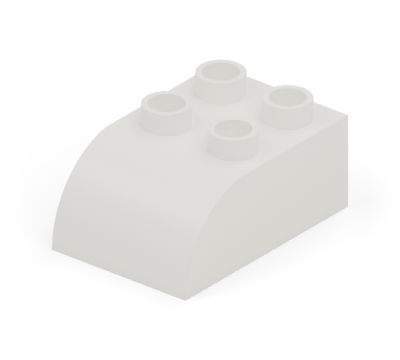
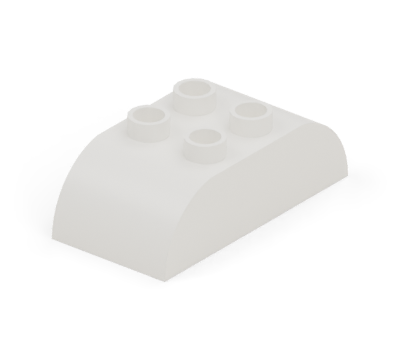
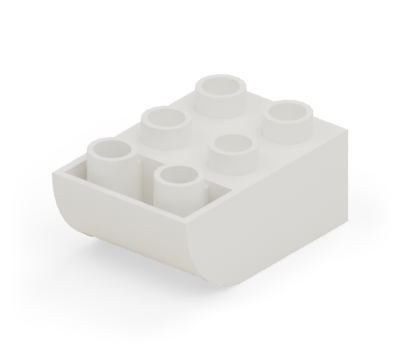
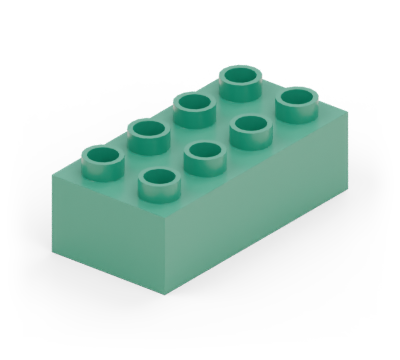
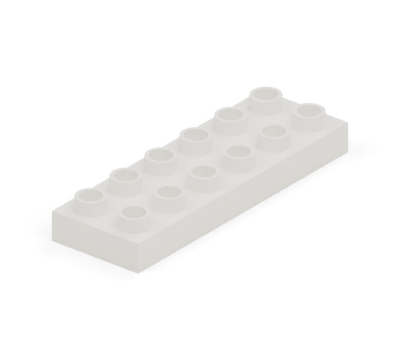
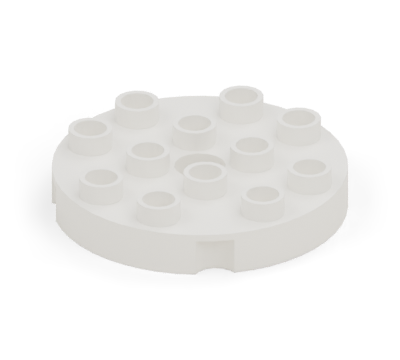
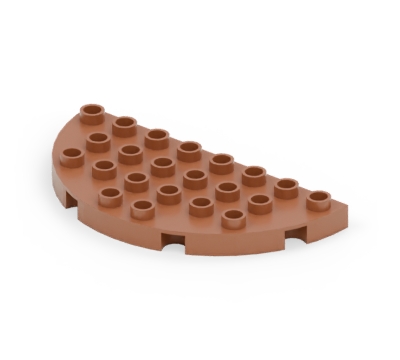
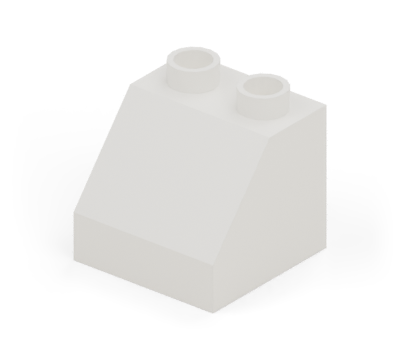
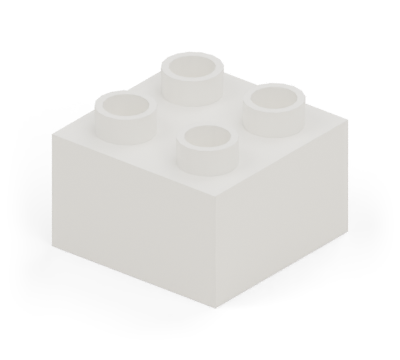
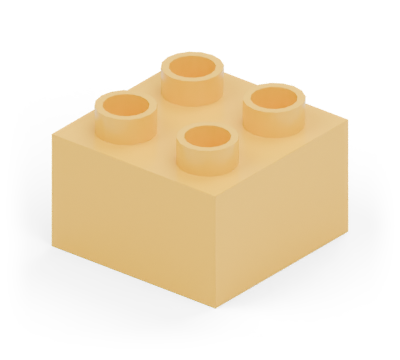
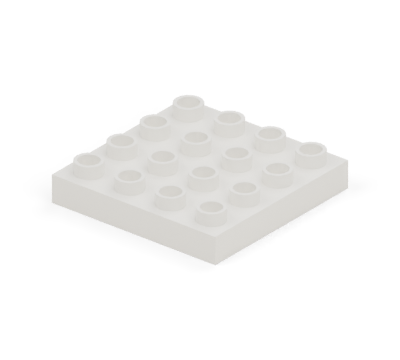
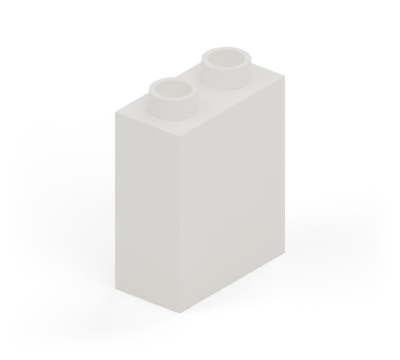
Total: 59 pieces
Build
New pieces are in colour. Earlier pieces are lighter.
Add: 2 × brown 8 × 4 semicircular plate
Place two brown semicircular plates with their straight edges together, making a round nest. The join runs left to right.
Add: 6 × white 1 × 2 double-height wall brick

Build three white narrow wall bricks along each side of the nest, one column in from the edge. Start one row from the back.
Add: 4 × white 1 × 2 double-height wall brick

Close the back and front with two white wall bricks at each end, fitting between the side walls.
Add: 1 × white 4 × 4 plate

Put a white 4 × 4 plate in the opening. It is the hatchling’s broad foot and lifts out with the whole dragon.
Add: 2 × green 2 × 4 brick

Put two green 2 × 4 bricks across the plate, one behind the other.
Add: 1 × green 2 × 4 brick

Put another green 2 × 4 brick across the front half. This makes the broad snout.
Add: 2 × white 1 × 2 double-height wall brick; 1 × yellow 2 × 2 brick

Stand two white narrow wall bricks on the back half, one at the far left and one at the far right. Add a yellow square between them.
Add: 4 × white 2 × 2 brick; 8 × white 2 × 3 curved-bottom brick

Put a white square in each corner of the wider shell. Add two white curved-bottom bricks along each side, rounded ends pointing outwards. Keep the middle open.
Add: 4 × white 2 × 2 brick; 8 × white 2 × 3 curved brick

Add another white square in each corner. Put curved-top bricks above the curved-bottom bricks, rounded ends pointing outwards.
Add: 6 × white 2 × 2 sloping brick

Put three white slopes along each side of the shell, high edges facing towards the middle.
Add: 4 × white 2 × 2 sloping brick

Finish the taper with two white slopes across the back and two across the front. Their high edges face the opening.
Add: 3 × white 2 × 6 plate

Close the egg with three white 2 × 6 plates across the opening, side by side. Their edges rest on the high edges of the slopes.
Add: 1 × white 4 × 4 round plate

Join all three cap plates with a white round plate, centred over the opening.
Add: 2 × white 2 × 4 double-curved brick

Finish with two white double-curved bricks side by side on the round plate, running from back to front.
Ready to play

Geometry: LDraw Parts Library. Part sources · Model and inventory · Render record
Revision 11b8cf0ce92b5fdbbd173b0d96cfaa03ce6541b0b49d2277dad26fdd676498eb
These new revisions have digital checks. They do not carry a new physical-test claim.