Step 1 of 10
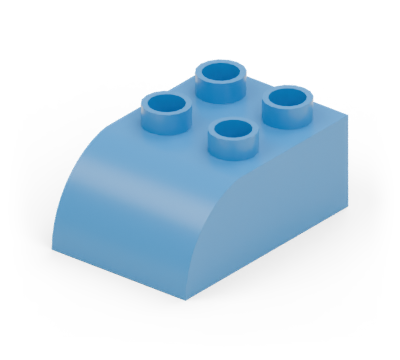
Add: 2 × blue 2 × 3 curved brick

Set two blue curved bricks side by side, rounded toes towards you. Leave a two-stud gap between them.
See the model
A blue-footed robot with a bright body, dark visor and interchangeable hand tools. Lift off its head or swap its tools to give your helper a new job.

Match the shape, size and colour to the parts pictures. A stud is a round bump on top. Count rows and columns from one edge.
New pieces keep their full colour. Earlier pieces are lighter. Keep the front of the model facing you unless a step says to turn it.
Gather all the pieces first, then take each step at your own pace. Help your child press pieces together and lift removable parts gently.
The head and tools detach at ordinary stud connections. The arms and legs do not bend.
The two tools share a 2 × 2 connection so they can swap places. Rebuild the head using the same shapes.
Gather pieces
Colours show the pictured version. Cream represents Tan and brown represents Reddish Brown. Match shapes and quantities first; other colour choices have not been checked for this edition.
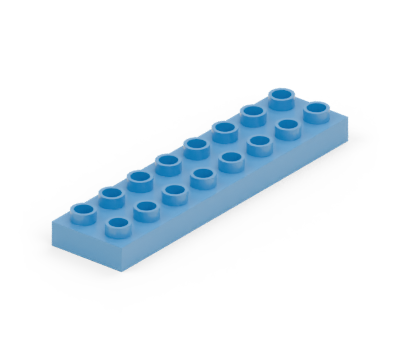
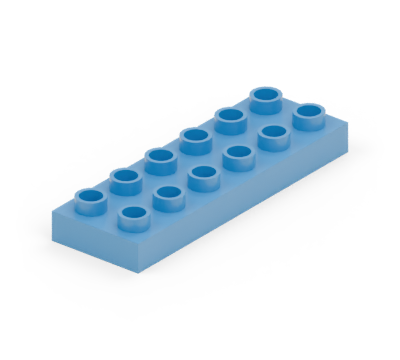
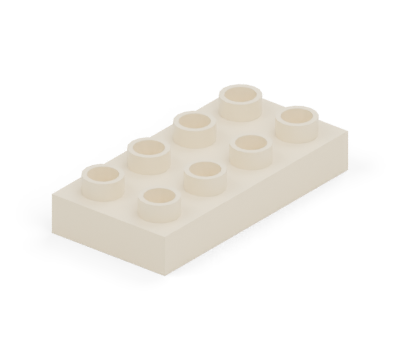
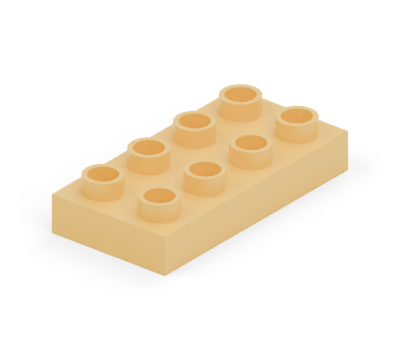
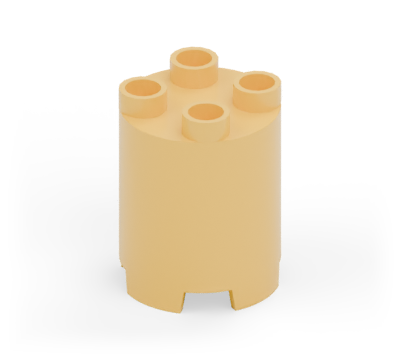
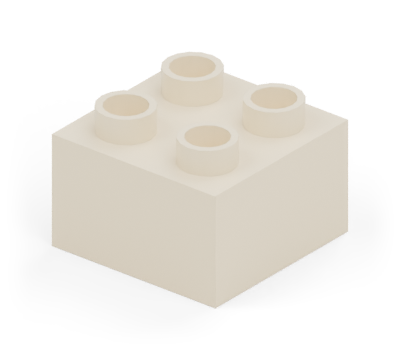
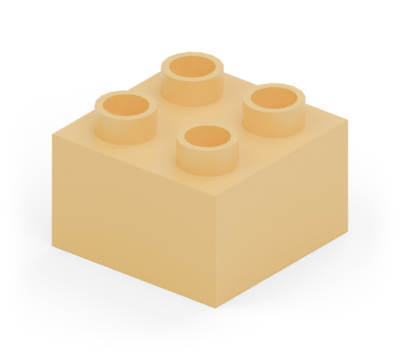
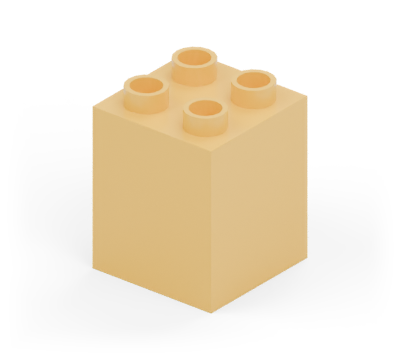
Total: 18 pieces
Build
New pieces are in colour. Earlier pieces are lighter.
Add: 2 × blue 2 × 3 curved brick
Set two blue curved bricks side by side, rounded toes towards you. Leave a two-stud gap between them.
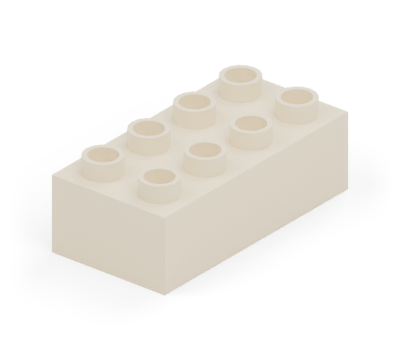
Add: 2 × cream 2 × 2 brick

Put a cream square brick on the flat two rows at the back of each foot.
Add: 1 × blue 2 × 6 plate

Join the legs with the blue 2 × 6 plate laid across them. Its ends line up with the outer edges of the legs.
Add: 2 × yellow 2 × 2 brick

Centre two yellow square bricks side by side on the hip plate. Leave one blue stud column visible at each end.
Add: 1 × blue 2 × 8 plate

Centre the blue 2 × 8 plate across the yellow body. It extends two stud columns beyond the yellow body on each side.
Add: 1 × yellow 2 × 2 double-height brick; 2 × cream 2 × 2 brick

Stand the yellow double-height square in the middle of the shoulder plate. Add a cream square at each outer end as the two hands. Leave one blue stud column between each hand and the chest.
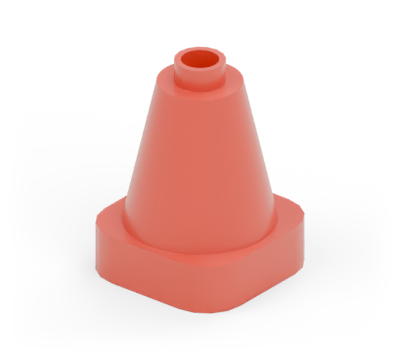
Add: 1 × red 2 × 2 cone; 1 × yellow 2 × 2 round tower brick

Put a red cone on the left hand and a yellow round tower brick on the right. These two tools can swap places.
Add: 1 × cream 2 × 4 plate

Centre the cream 2 × 4 plate across the top of the yellow chest. It projects one stud column to each side.
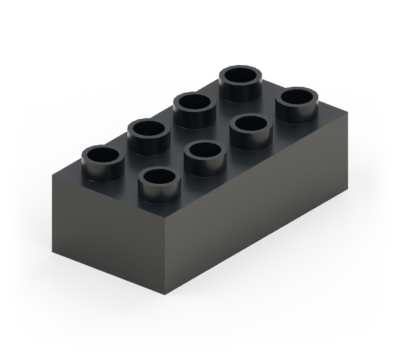
Add: 1 × cream 2 × 4 brick; 1 × black 2 × 4 brick; 1 × yellow 2 × 4 plate

Build the head with a cream 2 × 4 brick, then a black 2 × 4 brick for the visor. Cap it with a yellow 2 × 4 plate.
Add: 1 × red 2 × 2 cone

Centre the red cone on the yellow head as an antenna. Try gently lifting the head plate with an adult to detach the complete head.
Ready to play

Geometry: LDraw Parts Library. Part sources · Model and inventory · Render record
Revision d36defa41c4c1687a3b0bfc3e79269b99df8475603810ba6c63268745693c04e
Part and colour evidence. The bus wheelbase mould variant remains unverified.
These new revisions have digital checks. They do not carry a new physical-test claim.