Step 1 of 19
Add: 1 × black 6 × 12 plate

Lay the black 6 × 12 plate lengthways. The near short end will become the bow.
See the model
A cream sail rises above a brown ship with a rounded bow, deck rails and a hidden treasure hold. Lift the cream rear deck as one piece to discover the three treasures inside.

Match the shape, size and colour to the parts pictures. A stud is a round bump on top. Count rows and columns from one edge.
New pieces keep their full colour. Earlier pieces are lighter. Keep the front of the model facing you unless a step says to turn it.
Gather all the pieces first, then take each step at your own pace. Help your child press pieces together and lift removable parts gently.
The cream sail and mast are fixed. The cream rear deck lifts off as one connected piece.
Three square bricks are the treasures. The separate Treasure chest model is not included and is not claimed to fit inside.
Use the ship for dry tabletop play. It is not designed to float.
Gather pieces
Colours show the pictured version. Cream represents Tan and brown represents Reddish Brown. Match shapes and quantities first; other colour choices have not been checked for this edition.
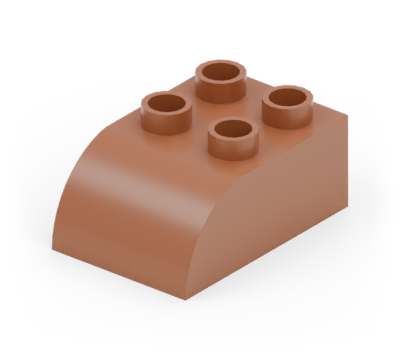
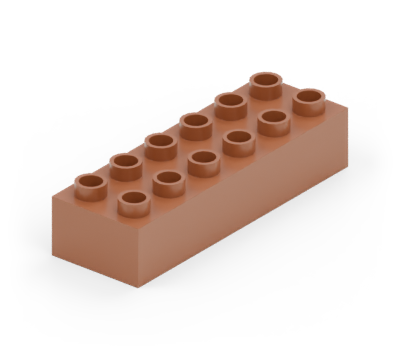
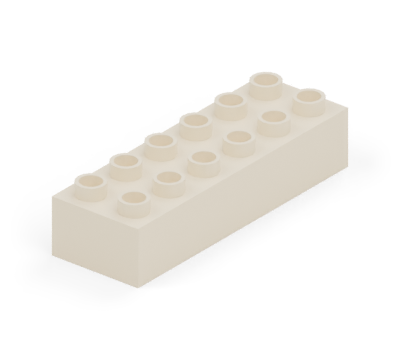
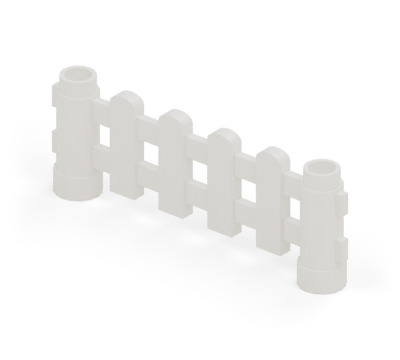
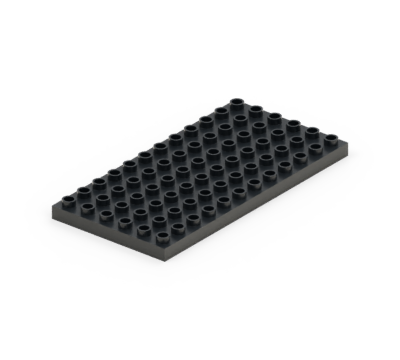
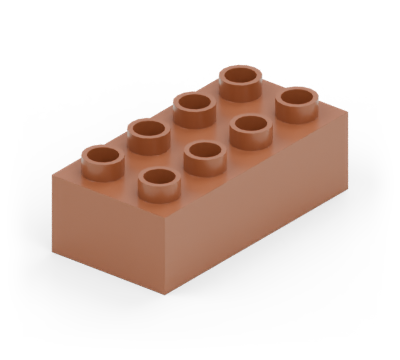
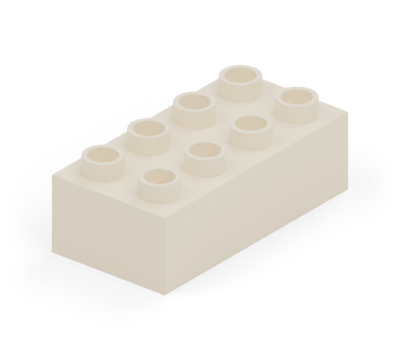
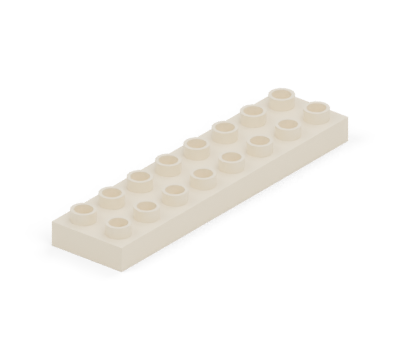
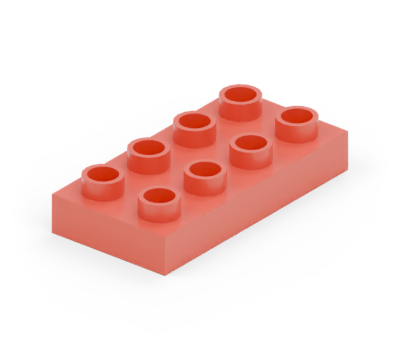
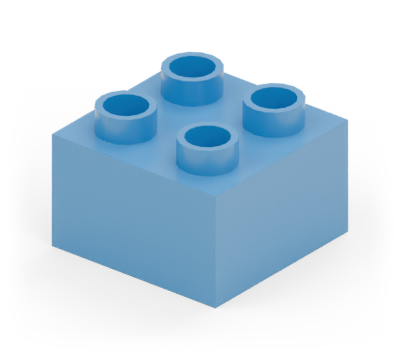
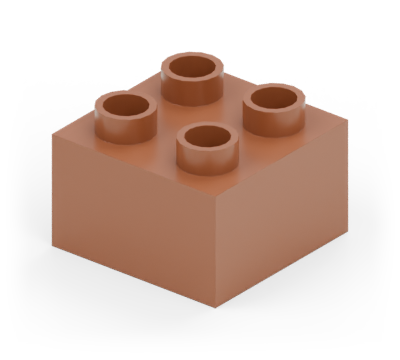
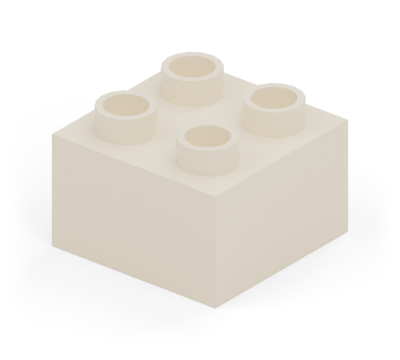
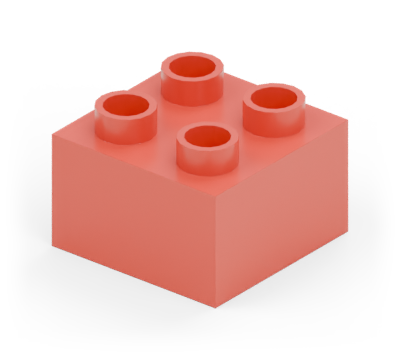
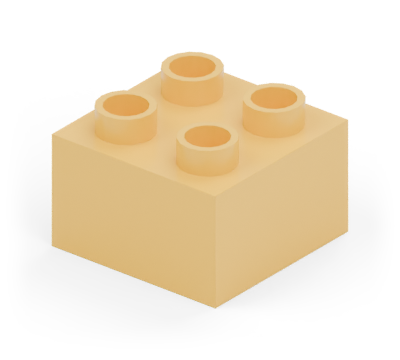
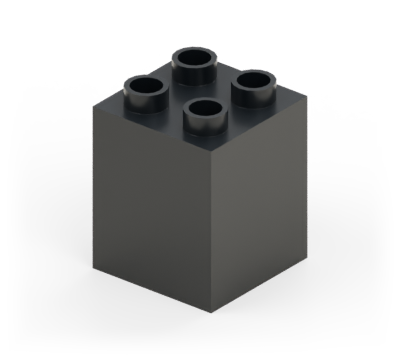
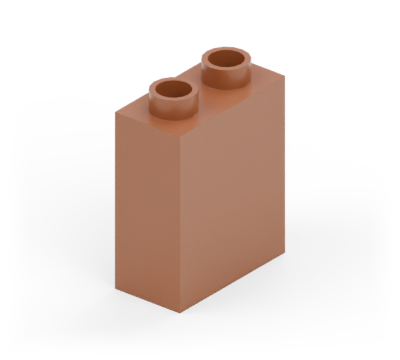
Total: 40 pieces
Build
New pieces are in colour. Earlier pieces are lighter.
Add: 1 × black 6 × 12 plate
Lay the black 6 × 12 plate lengthways. The near short end will become the bow.
Add: 5 × brown 1 × 2 double-height wall brick

Build the left side with five brown 1 × 2 double-height wall bricks, end to end along the outer column. Leave the front two rows clear.
Add: 5 × brown 1 × 2 double-height wall brick

Build the matching right side with five more brown wall bricks on the opposite outside column.
Add: 2 × brown 1 × 2 double-height wall brick

Close the back between the sides with two brown wall bricks turned across the four-column gap.
Add: 2 × brown 1 × 2 double-height wall brick

Close the front of the hold with two brown wall bricks across the gap, on the row immediately behind the two clear front rows.
Add: 2 × brown 2 × 3 curved brick; 1 × brown 2 × 4 brick

Put a brown curved brick at each side of the clear front rows. Point their rounded ends forwards. Between them, add a brown 2 × 4 brick running forwards, with its rear half on the black base.
Add: 3 × brown 2 × 3 curved brick; 1 × brown 2 × 2 brick

Stack a brown curve on each side curve. Put a brown square on the back half of the middle brick, then a brown curve on its front half. The middle curve makes the projecting bow.
Add: 1 × yellow 2 × 2 brick; 1 × blue 2 × 2 brick; 1 × red 2 × 2 brick

Put the yellow and blue square bricks side by side on the floor, two rows from the back. Put the red square in front of them, centred across the hold.
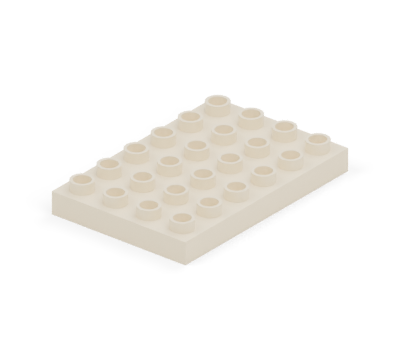
Add: 1 × cream 4 × 6 plate

Lay the cream 4 × 6 plate across the front four rows of the hold. Its long edges reach the side walls and its front edge meets the rounded bow.
Add: 1 × brown 2 × 6 brick

Put a brown 2 × 6 brick across the back two rows, resting on the back wall and both side walls.
Add: 1 × cream 4 × 6 plate

Close the rear hold with the second cream 4 × 6 plate, laid across the side walls. Start it just in front of the stern ledge. Its front edge meets the fixed deck.
Add: 2 × cream 2 × 6 brick

Put two cream 2 × 6 bricks across the removable deck, one behind the other. These planks join to the cream plate beneath and lift off with it.
Add: 1 × black 2 × 2 double-height brick

Stand the black double-height square brick in the middle of the fixed deck, one row in from its back edge.
Add: 1 × cream 2 × 8 plate

Put the cream 2 × 8 plate across the mast. Centre it so three stud columns project on either side of the mast.
Add: 2 × cream 2 × 4 brick

Cover the sail plate with two cream 2 × 4 bricks turned across the ship, end to end.
Add: 1 × cream 2 × 6 brick

Put a cream 2 × 6 brick across the sail, lining up its left edge with the row below. Leave two columns visible at the right.
Add: 1 × cream 2 × 4 brick; 1 × cream 2 × 2 brick

Add a cream 2 × 4 brick, then a cream square above it, both lined up with the left edge. Each row leaves two more columns clear on the right, making a triangular sail.
Add: 1 × red 2 × 4 plate

Put the red 2 × 4 plate across the top square. Leave two columns projecting to the right for a small flag.
Add: 2 × white 6 × 1 fence

Finish with a white fence across the stern ledge and another across the front edge of the fixed deck. Both run across the full width of the ship.
Ready to play

Geometry: LDraw Parts Library. Part sources · Model and inventory · Render record
Revision 5eef297647dc0cafc6ab1d174eb9f29b4236bfef21d37a553588c7d843e31271
Part and colour evidence. The bus wheelbase mould variant remains unverified.
These new revisions have digital checks. They do not carry a new physical-test claim.