Step 1 of 11
Add: 4 × green 2 × 2 brick

Set out four green squares in two pairs. Leave two clear columns between the left and right feet and no rows between the back and front pairs.
See the model
Three orange horns and a wide green frill give this little dinosaur a bold face. Four short feet support its chunky body.

Match the shape, size and colour to the parts pictures. A stud is a round bump on top. Count rows and columns from one edge.
New pieces keep their full colour. Earlier pieces are lighter. Keep the front of the model facing you unless a step says to turn it.
Gather all the pieces first, then take each step at your own pace. Help your child press pieces together and lift removable parts gently.
The horns, head and legs stay fixed.
Lift the dinosaur underneath its body, keeping fingers away from the horns.
Gather pieces
Colours show the pictured version. Brown represents Reddish Brown. Match shapes and quantities first; other colour choices have not been checked for this edition.
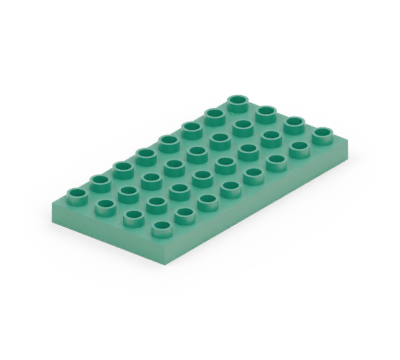
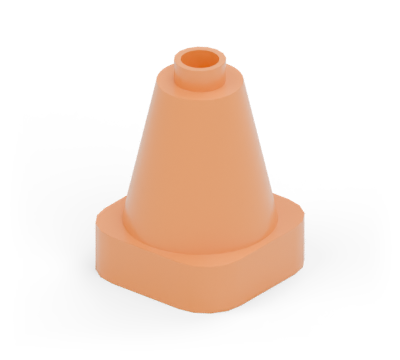
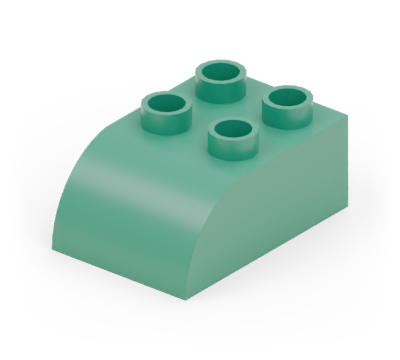
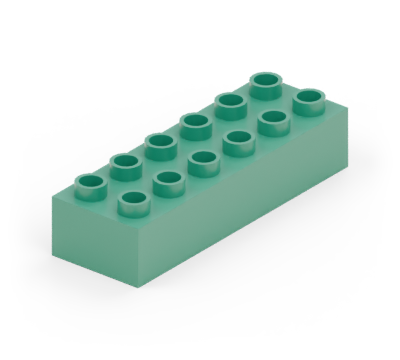
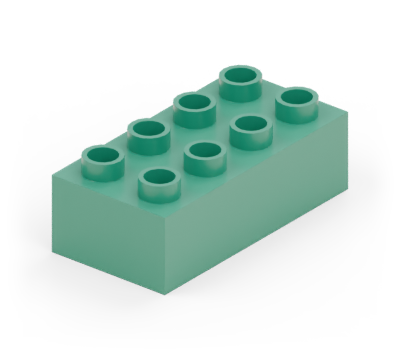
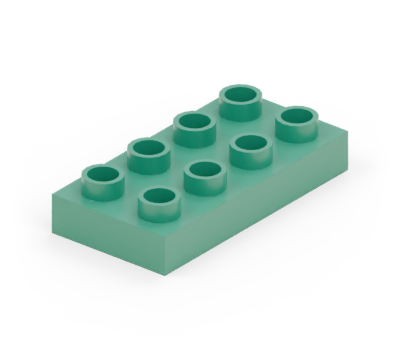
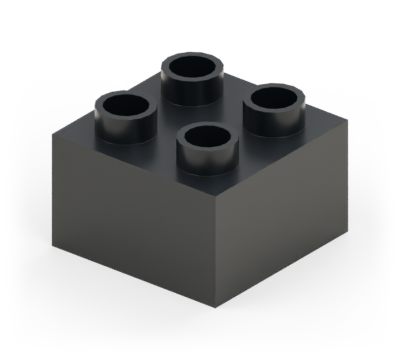
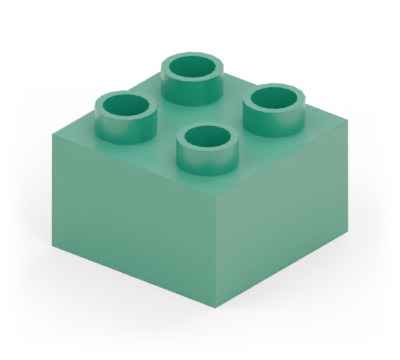
Total: 20 pieces
Build
New pieces are in colour. Earlier pieces are lighter.
Add: 4 × green 2 × 2 brick
Set out four green squares in two pairs. Leave two clear columns between the left and right feet and no rows between the back and front pairs.
Add: 1 × green 4 × 8 plate

Put a green 4 × 8 plate over the feet, running from back to front. Each foot projects one column outside its side.
Add: 1 × green 2 × 4 plate; 1 × green 2 × 3 curved brick

Attach a green 2 × 4 plate at the back, centred left to right. Only its front row overlaps the body plate. Add a green curved brick at the outer end, rounded end pointing backwards.
Add: 2 × green 2 × 3 curved brick

Put two green curved bricks side by side on the body plate, one row from the back. Their rounded ends face forwards.
Add: 1 × green 2 × 6 brick

Put a green 2 × 6 brick across the body behind the head, starting at the fifth row of the body plate. It projects one column on each side.
Add: 2 × black 2 × 2 brick; 1 × green 2 × 2 brick

Put a black square at each end of the wide green brick and a green square between them.
Add: 1 × green 2 × 6 brick

Join the three squares with another green 2 × 6 brick, lined up with the one below.
Add: 2 × orange 2 × 2 cone

Put an orange cone at each end of the frill. Leave the two middle columns clear.
Add: 1 × green 2 × 4 brick

Attach a green 2 × 4 brick in front of the frill, centred on the body. Its back two rows sit on the body plate.
Add: 1 × green 2 × 2 brick; 1 × green 2 × 3 curved brick

Put a green square on the back half of the jaw and a green curved brick on the front half, rounded end forwards.
Add: 1 × orange 2 × 2 cone

Put the third orange cone on the green square behind the rounded nose.
Ready to play
Geometry: LDraw Parts Library. Part sources · Model and inventory · Render record
Revision 43881387eb9dffc86e857764f4144f2b1c678180598d62fd8bb3f90ca40fa40f
These new revisions have digital checks. They do not carry a new physical-test claim.