Step 1 of 18
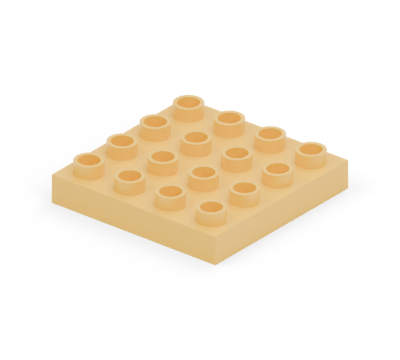
Add: 1 × brown 4 × 4 plate

Lay a brown 4 × 4 plate flat.
See the model
A bright rounded balloon rises above a small brown basket. Two visible white supports hold the sculpture together, ready for an imaginary journey.

Match the shape, size and colour to the parts pictures. A stud is a round bump on top. Count rows and columns from one edge.
New pieces keep their full colour. Earlier pieces are lighter. Keep the front of the model facing you unless a step says to turn it.
Gather all the pieces first, then take each step at your own pace. Help your child press pieces together and lift removable parts gently.
The balloon and basket form one fixed sculpture. The white supports are part of the model.
It does not float or fly. Carry it underneath the basket and upper body together.
The basket is for a small paper passenger; compatibility with other brick figures is not assumed.
Gather pieces
Colours show the pictured version. Brown represents Reddish Brown. Match shapes and quantities first; other colour choices have not been checked for this edition.
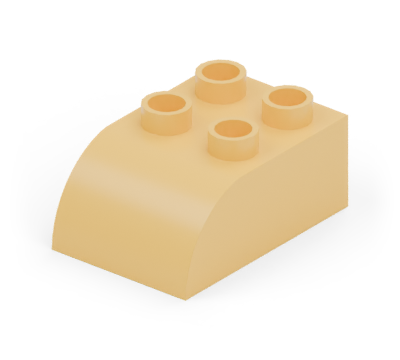
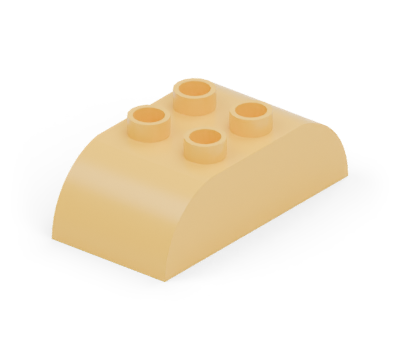
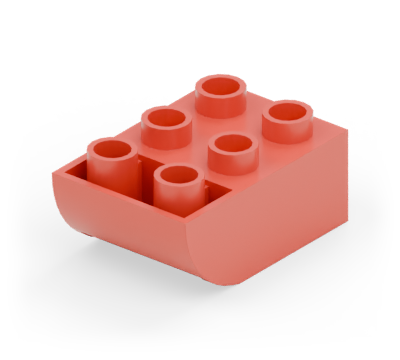
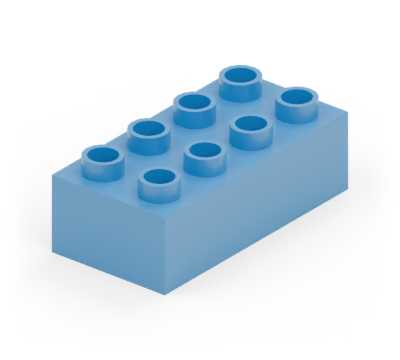
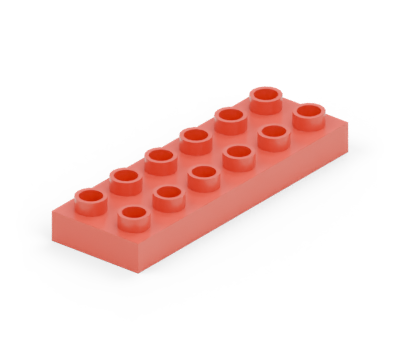
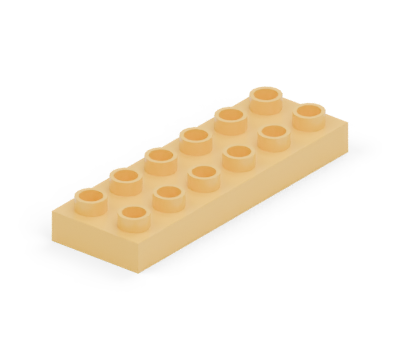
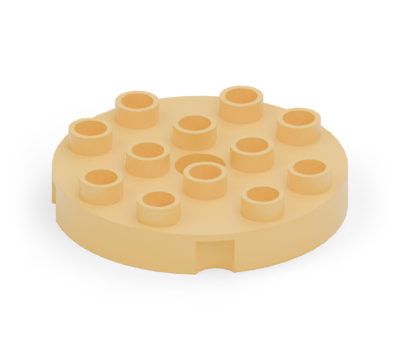
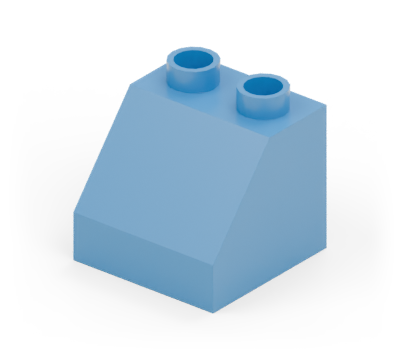
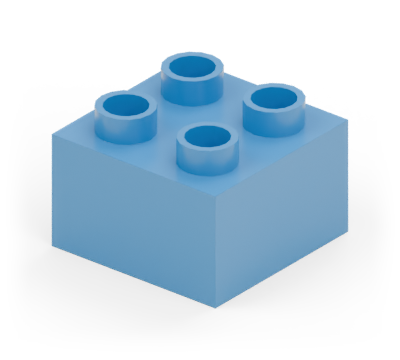
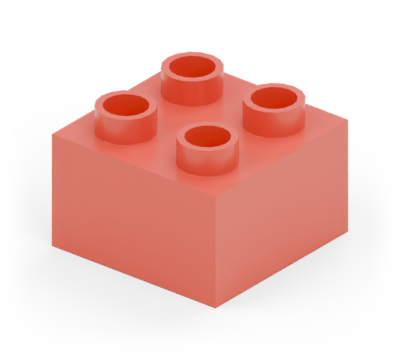
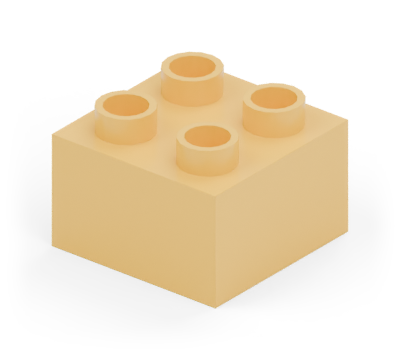
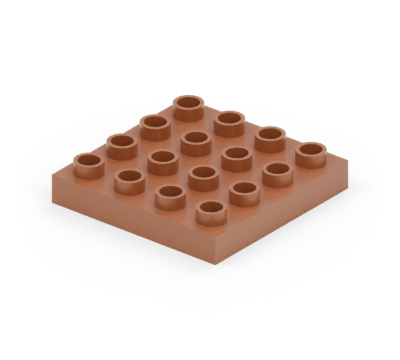
Total: 61 pieces
Build
New pieces are in colour. Earlier pieces are lighter.
Add: 1 × brown 4 × 4 plate
Lay a brown 4 × 4 plate flat.
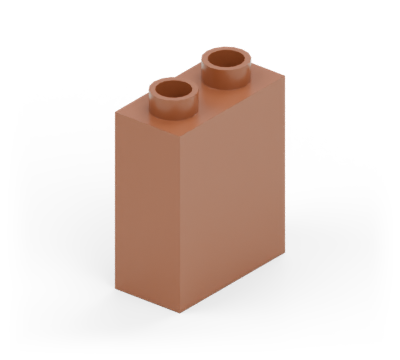
Add: 4 × brown 1 × 2 double-height wall brick

Stand two brown narrow wall bricks down each side of the basket, end to end.
Add: 2 × brown 1 × 2 double-height wall brick

Close the back and front gaps with one brown wall brick across each end.
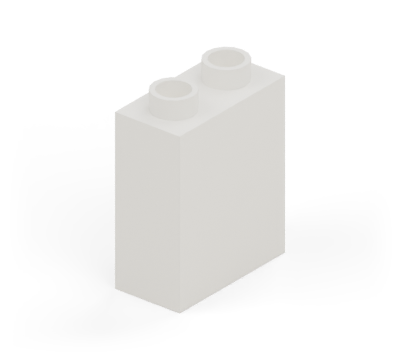
Add: 2 × white 1 × 2 double-height wall brick

Stand a white narrow wall brick in the middle of each side wall. These are the visible supports for the balloon.
Add: 1 × yellow 4 × 4 plate

Lay a yellow 4 × 4 plate over the supports, lined up with the basket floor.
Add: 3 × yellow 2 × 6 plate

Put three yellow 2 × 6 plates side by side over the yellow square. They project one row or column beyond it on every side.
Add: 4 × red 2 × 2 brick

Put a red square at each corner of an eight-column-wide balloon. Each square overlaps just one corner stud of the yellow platform.
Add: 4 × red 2 × 3 curved-bottom brick

Add two red curved-bottom bricks along the back and two along the front, rounded ends pointing outwards.
Add: 4 × red 2 × 3 curved-bottom brick

Add two red curved-bottom bricks along each remaining side, rounded ends pointing outwards. Keep the middle empty.
Add: 4 × blue 2 × 2 brick

Put a blue square above each red corner.
Add: 4 × blue 2 × 4 brick

Join the blue corners with a blue 2 × 4 brick along each side. Keep the middle empty.
Add: 4 × yellow 2 × 2 brick

Put a yellow square above each blue corner.
Add: 4 × yellow 2 × 3 curved brick

Add two yellow curved-top bricks along the back and two along the front, rounded ends pointing outwards.
Add: 4 × yellow 2 × 3 curved brick

Add two yellow curved-top bricks along each remaining side, rounded ends pointing outwards.
Add: 6 × blue 2 × 2 sloping brick

Put three blue slopes down each side, high edges facing the middle. Start one row in from the back edge.
Add: 4 × blue 2 × 2 sloping brick

Add two blue slopes across the back and two across the front, high edges facing the middle.
Add: 3 × red 2 × 6 plate

Close the opening with three red 2 × 6 plates across the balloon, side by side.
Add: 1 × yellow 4 × 4 round plate; 2 × yellow 2 × 4 double-curved brick

Centre a yellow round plate over the three red plates. Finish with two yellow double-curved bricks side by side, running back to front.
Ready to play
Geometry: LDraw Parts Library. Part sources · Model and inventory · Render record
Revision c3e445e82b96f1dc4e6c7e911914c051da3d78a596e558e3627d63e69eae4355
These new revisions have digital checks. They do not carry a new physical-test claim.