Step 1 of 15
Add: 1 × green 6 × 12 plate

Lay a green 6 × 12 plate across the table, with its long edge nearest you.
See the model
A blue bird shows off a bright fan of green, red and orange feathers, edged with yellow and blue tips. The colours repeat on both sides of its little head.

Match the shape, size and colour to the parts pictures. A stud is a round bump on top. Count rows and columns from one edge.
New pieces keep their full colour. Earlier pieces are lighter. Keep the front of the model facing you unless a step says to turn it.
Gather all the pieces first, then take each step at your own pace. Help your child press pieces together and lift removable parts gently.
The tail is a fixed structure. Move the bird by its broad base.
Build the body before the feather tips so the joining pieces stay easy to reach.
Gather pieces
Colours show the pictured version. Brown represents Reddish Brown. Match shapes and quantities first; other colour choices have not been checked for this edition.
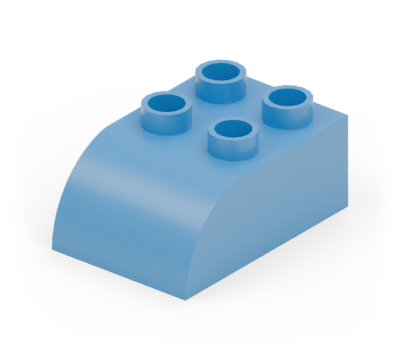
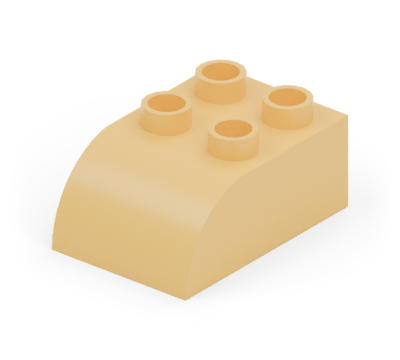
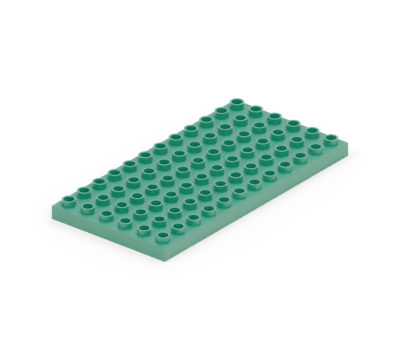
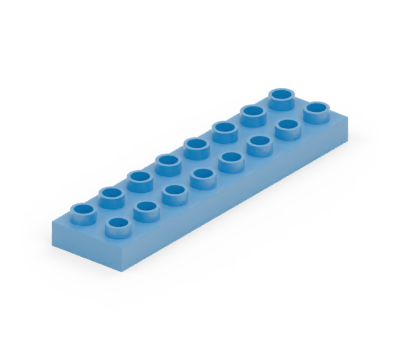
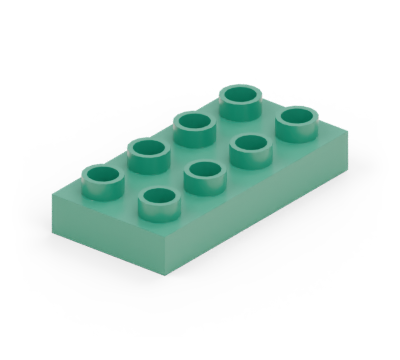
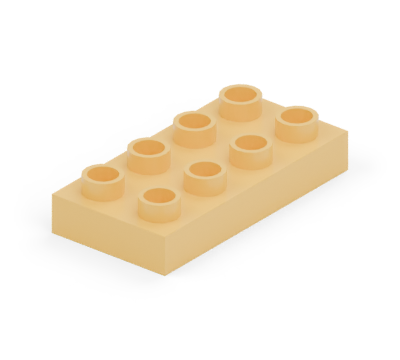
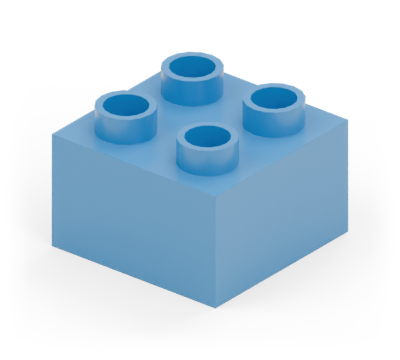
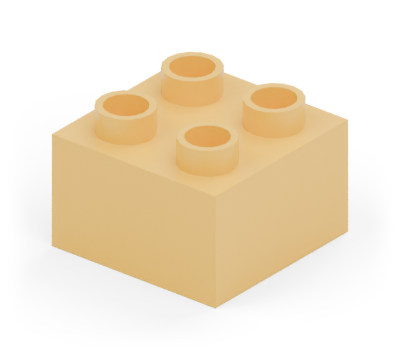
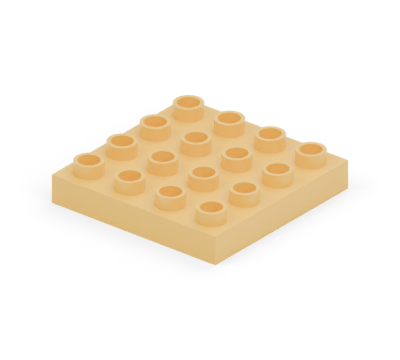
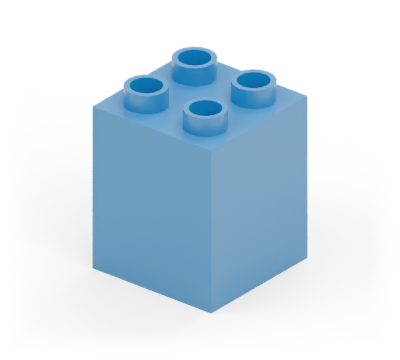
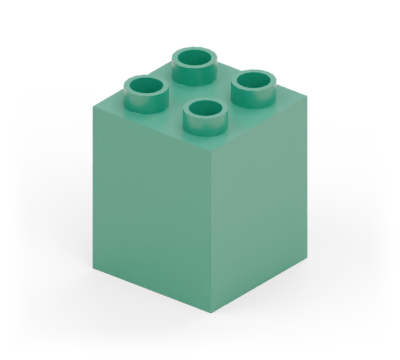
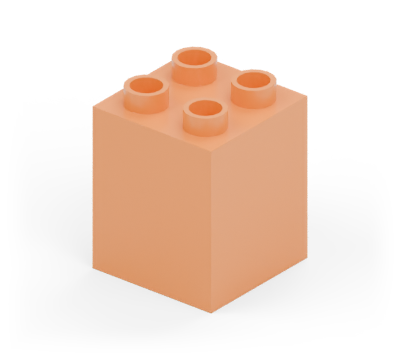
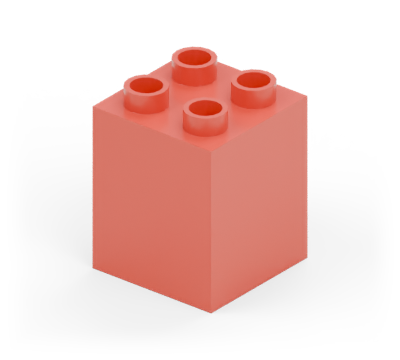
Total: 41 pieces
Build
New pieces are in colour. Earlier pieces are lighter.
Add: 1 × green 6 × 12 plate
Lay a green 6 × 12 plate across the table, with its long edge nearest you.
Add: 2 × blue 2 × 8 plate

Put two blue 2 × 8 plates end to end across the back two rows. Each end projects two columns beyond the base.
Add: 2 × yellow 2 × 3 curved brick

Place two yellow curved bricks in front of the fan, side by side, with their round ends forwards.
Add: 1 × yellow 4 × 4 plate; 2 × blue 2 × 3 curved brick

Join the feet with a yellow 4 × 4 plate. It reaches back to the row in front of the fan. Add two blue curved bricks on top, rounded ends forwards.
Add: 1 × blue 2 × 2 double-height brick

Stand a blue double-height square brick on the back half of the body, centred between the two curves.
Add: 1 × yellow 2 × 4 plate

Put a yellow 2 × 4 plate on the neck, projecting two rows forwards for the beak.
Add: 1 × blue 2 × 2 brick; 1 × blue 2 × 3 curved brick

Put a blue square on the back half of the yellow plate. Finish with a blue curved brick, its round end forwards.
Add: 6 × green 2 × 2 double-height brick

Build six green double-height square bricks across the middle of the tail, leaving two columns at each end clear.
Add: 4 × red 2 × 2 double-height brick

Add four red double-height squares across the middle four columns. Leave the outside green column on each side showing.
Add: 2 × orange 2 × 2 double-height brick

Raise the middle pair with two orange double-height squares. The green, red and orange rows step down evenly on both sides.
Add: 1 × green 2 × 4 plate

Join the highest pair of central columns with a green 2 × 4 plate across their tops.
Add: 2 × yellow 2 × 2 brick; 2 × blue 2 × 3 curved brick

Finish the outside pair of feathers with yellow squares and blue curved bricks. Point the rounded blue ends towards you.
Add: 2 × yellow 2 × 2 brick; 2 × blue 2 × 3 curved brick

Finish the next pair of feathers with yellow squares and blue curved bricks. Point the rounded blue ends towards you.
Add: 2 × yellow 2 × 2 brick; 2 × blue 2 × 3 curved brick

Finish the next inner pair of feathers with yellow squares and blue curved bricks. Point the rounded blue ends towards you.
Add: 2 × yellow 2 × 2 brick; 2 × blue 2 × 3 curved brick

Finish the highest pair of feathers with yellow squares and blue curved bricks. Point the rounded blue ends towards you.
Ready to play

Geometry: LDraw Parts Library. Part sources · Model and inventory · Render record
Revision 0db1dec915b81d76c62bc3adfcf78657aac1c3402fab4a9884eaca720b64d7f2
These new revisions have digital checks. They do not carry a new physical-test claim.