LET’S BUILD TOGETHER
Birthday cake
10 pieces 6 steps · One little step at a time.
See all the pieces
A LITTLE PREPARATION
Gather your pieces
Use whichever colours you have. Check the shapes before you start.
10pieces in total
See the original colours
Your checklist stays on this device when browser storage is available.
01
STEP 1 OF 6
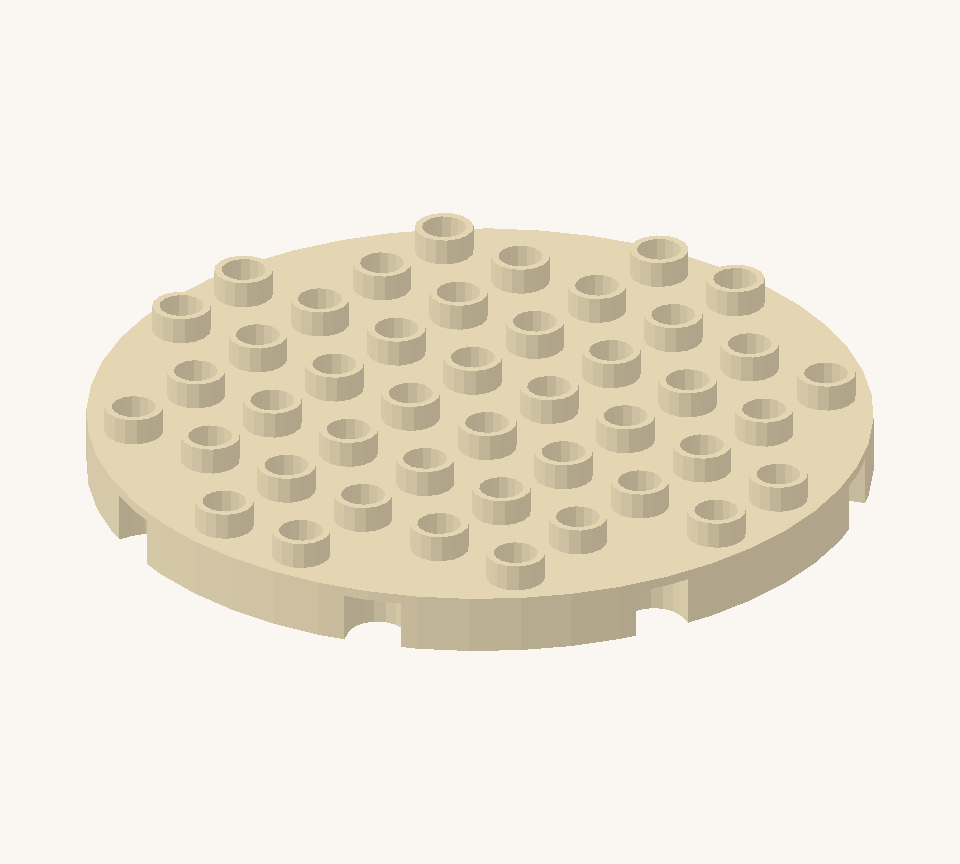
Make a round cream platter from two semicircular plates. Set their straight eight-stud edges together, with the curved edges facing outward.
02
STEP 2 OF 6
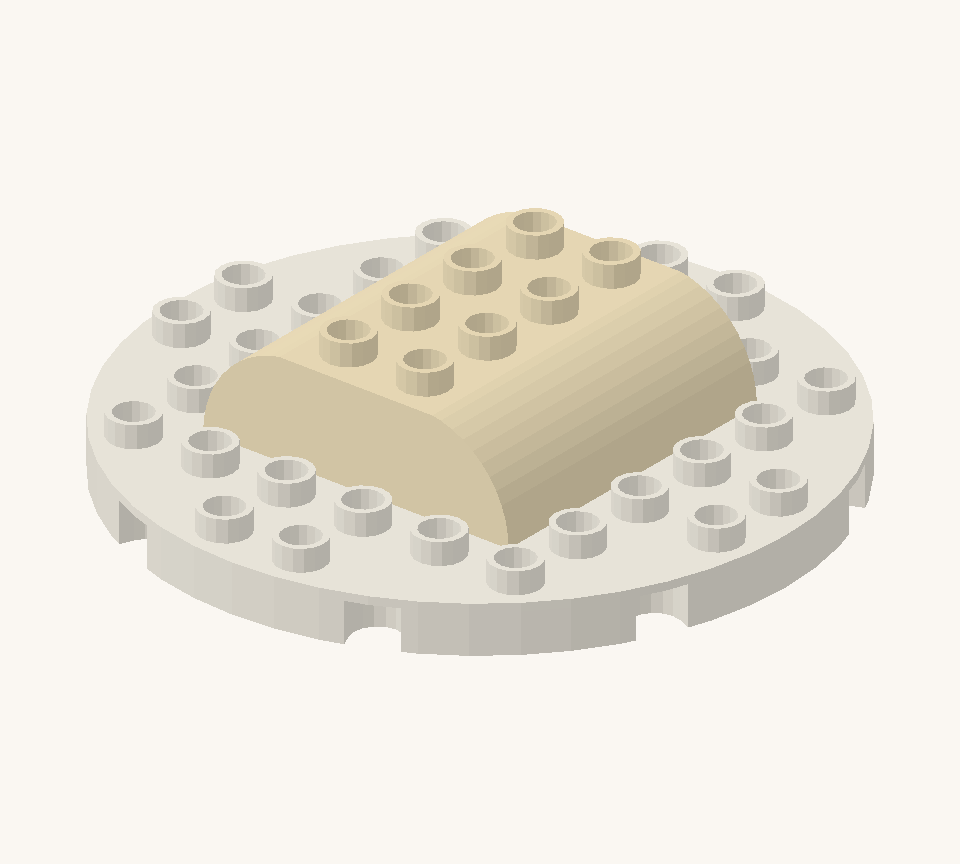
Centre two cream double-curved bricks on the platter as the lower sponge layer. Turn both across the platter, one on each side of its middle seam.
03
STEP 3 OF 6
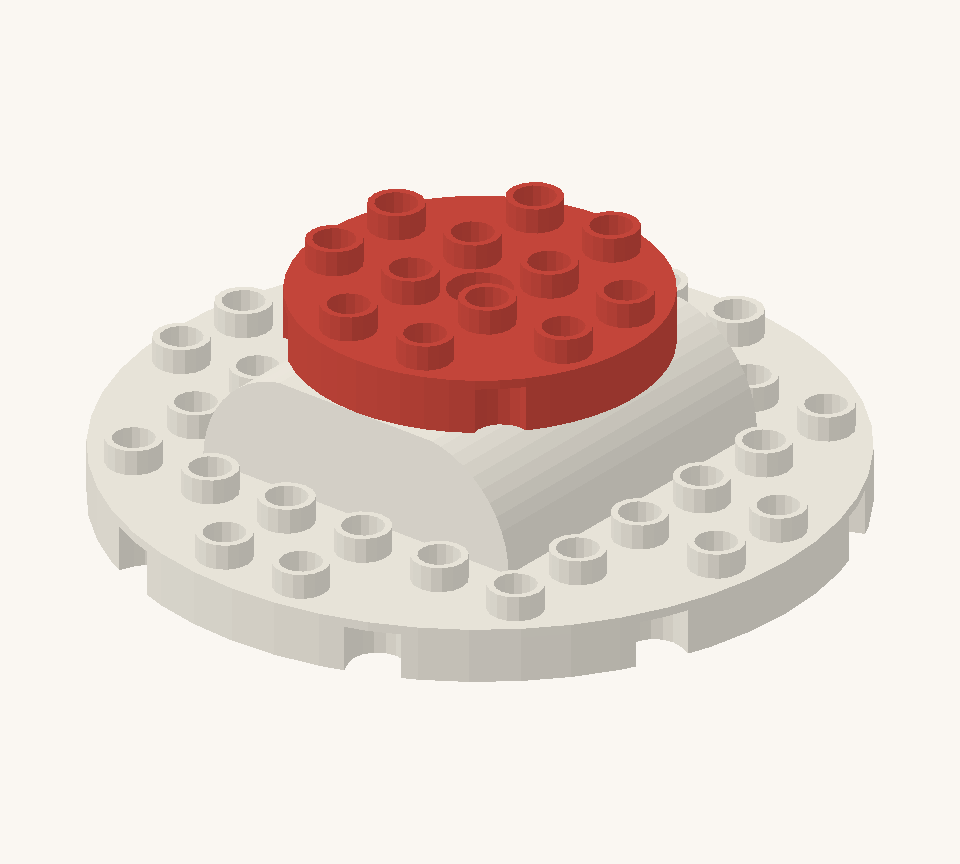
Join the two sponge halves with the red round plate as a strawberry filling layer.
04
STEP 4 OF 6
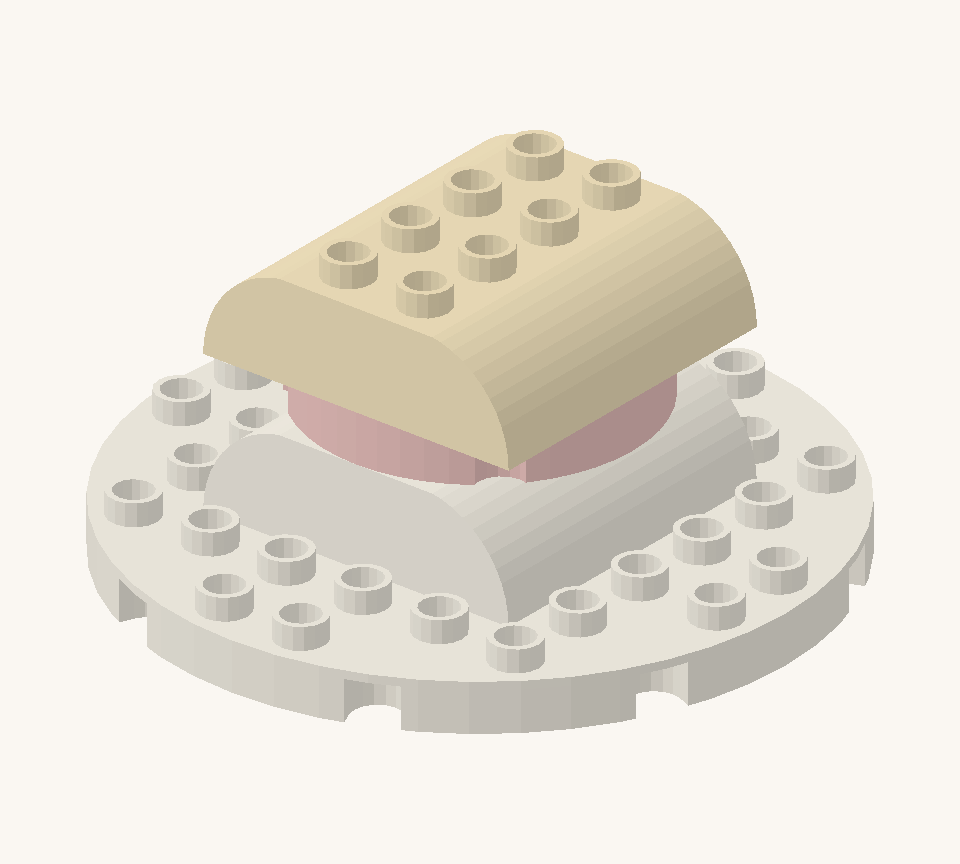
Add a second sponge layer with two more cream double-curved bricks, aligned with the lower pair.
05
STEP 5 OF 6
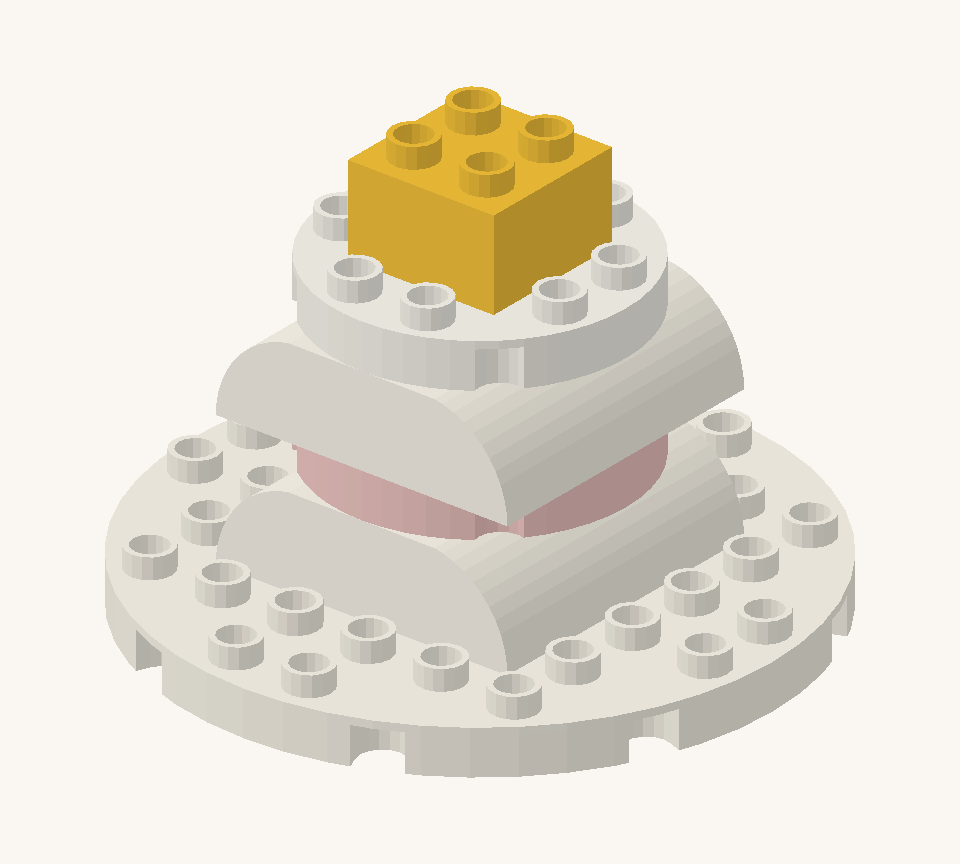
Cover the cake with the white round plate for icing. Centre the yellow square on it as a chunky birthday candle.
06
STEP 6 OF 6
Finish the candle with the orange cone as a pretend flame. Leave its top stud free.
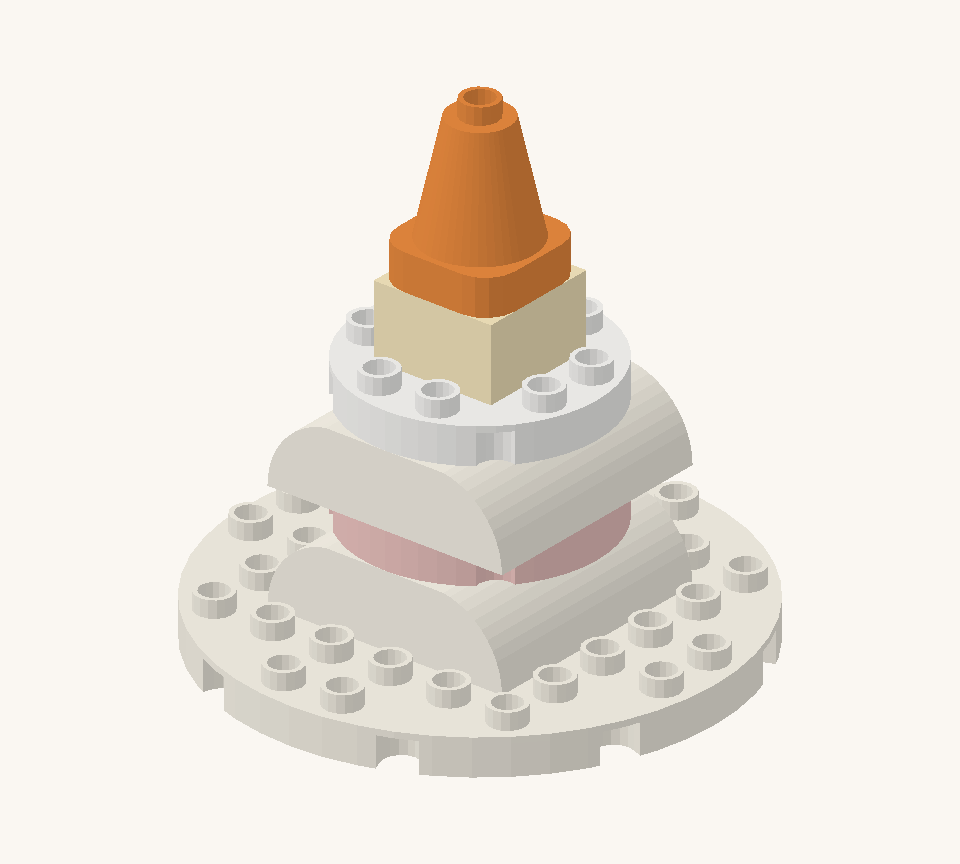
THE LAST STEP OF THE GUIDE
Room for a little more imagination.
Sing a made-up birthday song for a favourite toy. This cake is for pretend play.
Tell us how your build went
KEEP THE IMAGINATION GOING