LET’S BUILD TOGETHER
Little biplane
13 pieces 9 steps · One little step at a time.
See all the pieces
A LITTLE PREPARATION
Gather your pieces
Use whichever colours you have. Check the shapes before you start.
13pieces in total
See the original colours
Your checklist stays on this device when browser storage is available.
01
STEP 1 OF 9
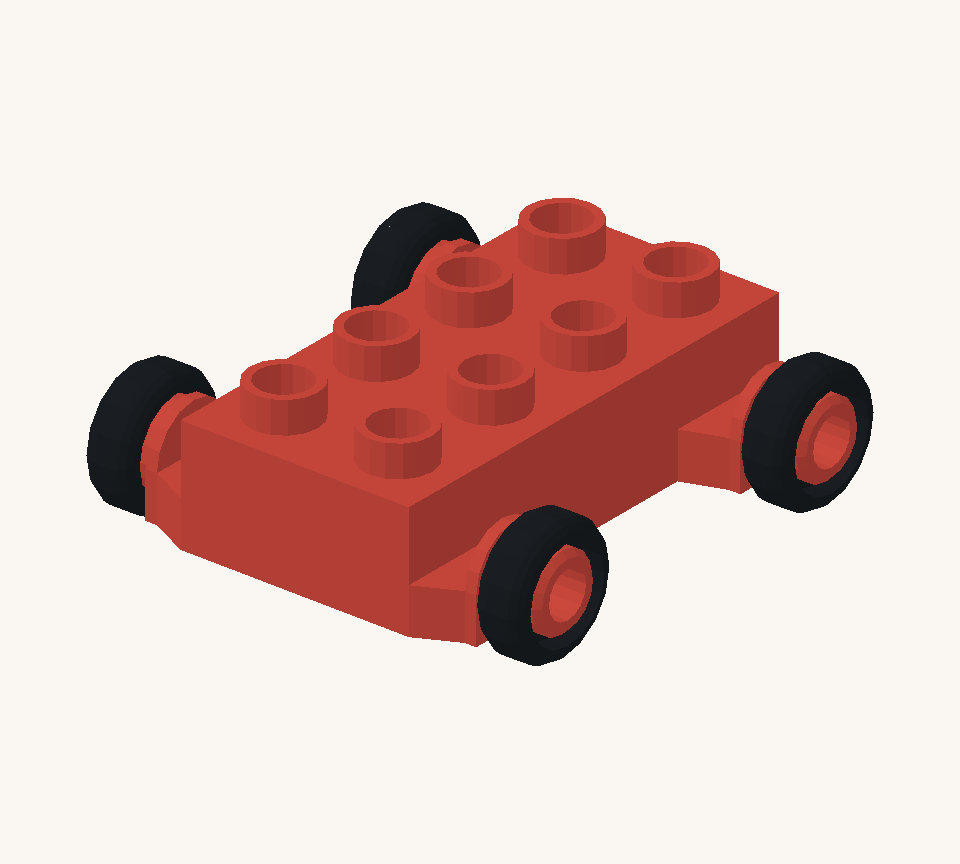
Set the red wheeled base down as the landing gear. Its four black wheels are already attached. Cover its eight top studs with the red small plate.
02
STEP 2 OF 9
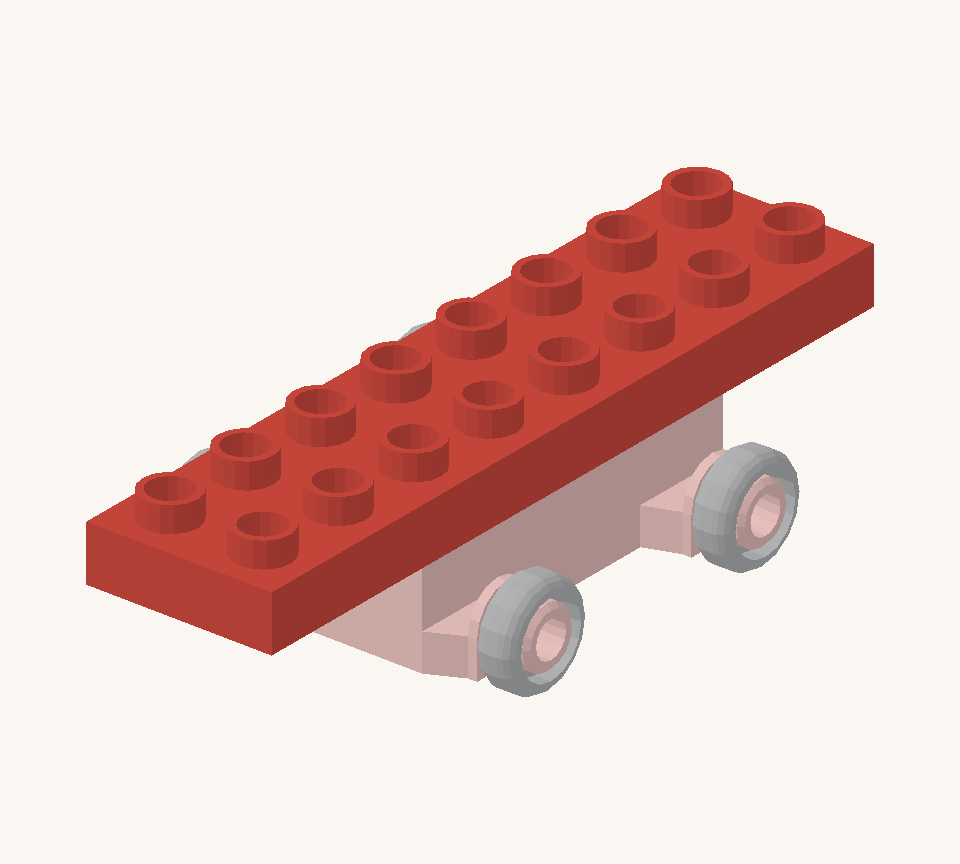
Centre the red long plate lengthways over the chassis, overhanging by two stud rows at both ends.
03
STEP 3 OF 9
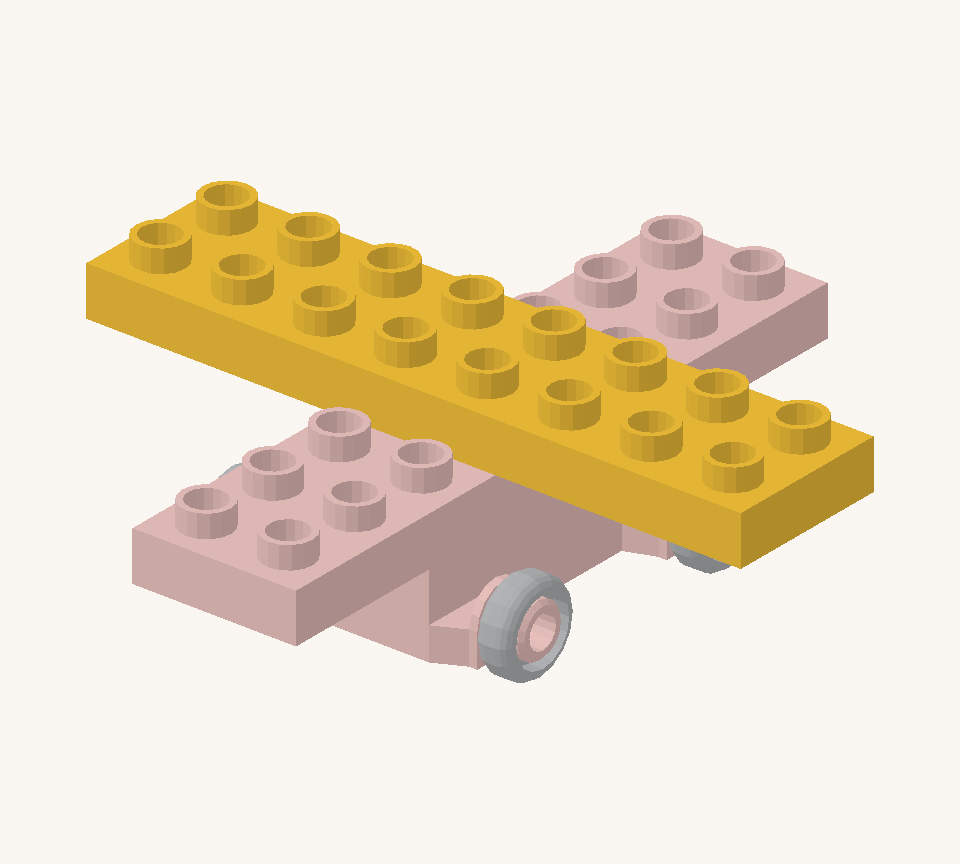
Turn the yellow long plate across the middle for the lower wing. It projects three stud columns to each side of the red spine.
04
STEP 4 OF 9
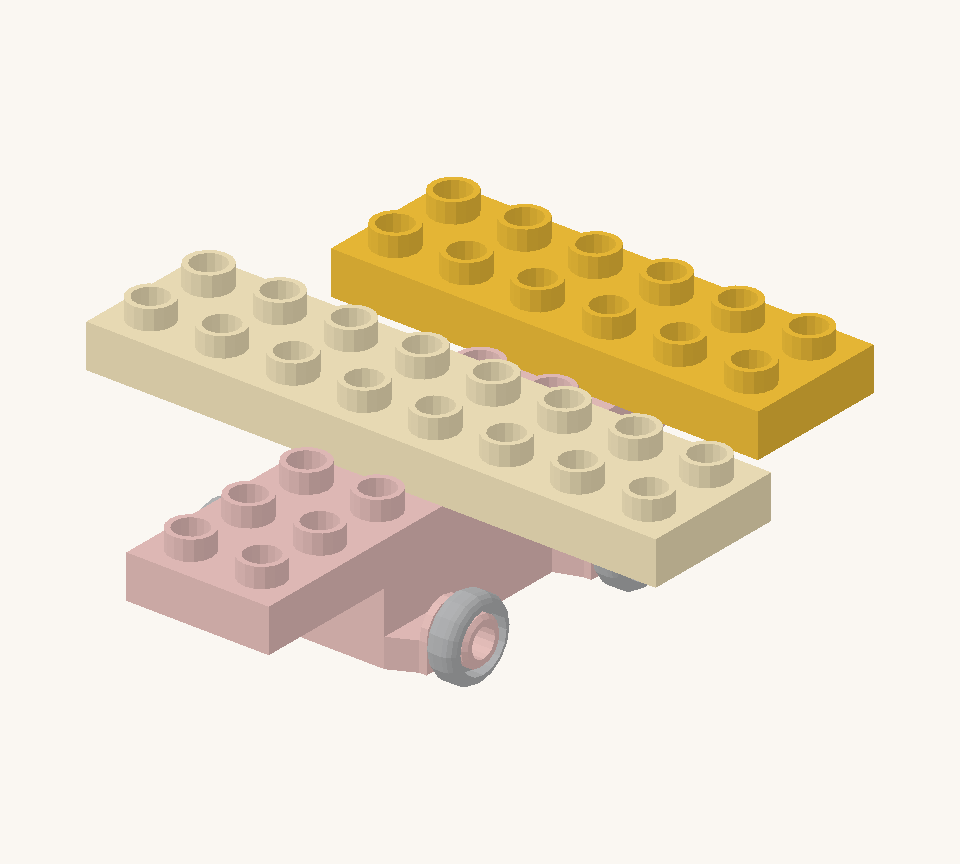
Add the yellow medium plate across the back two rows of the spine as the tailplane. Centre its six-stud span left to right.
05
STEP 5 OF 9
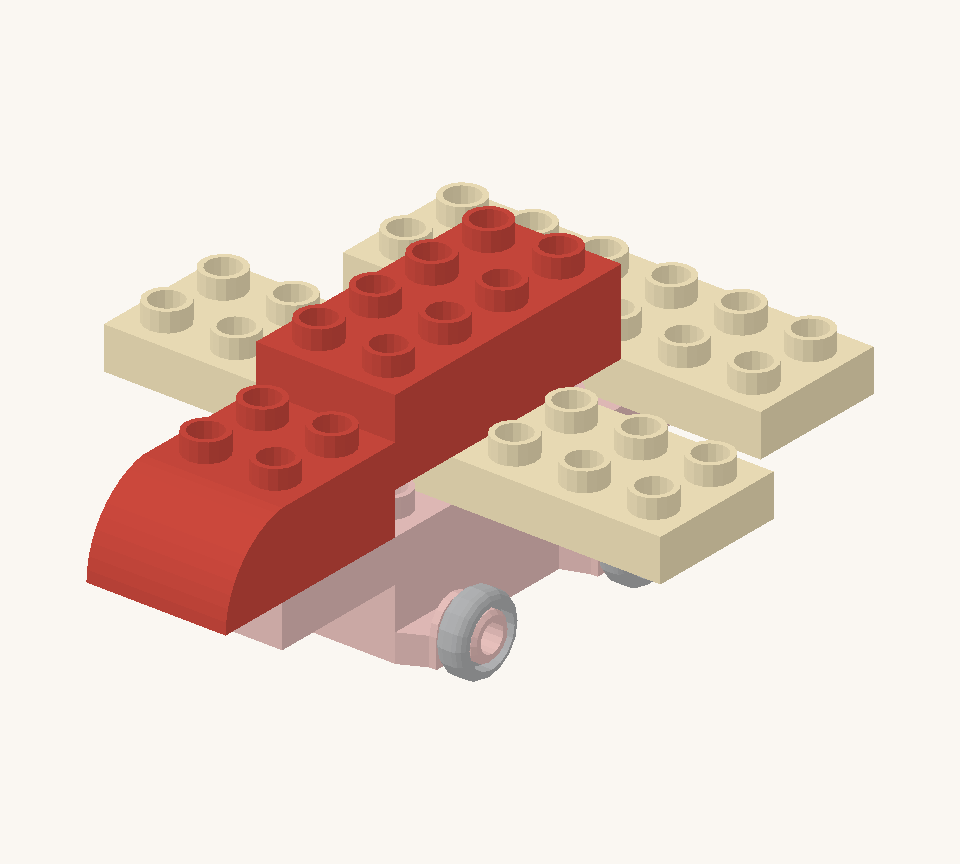
Lay a red long brick along the centre above the lower wing, with one row behind the wing and one in front. Add a red curve to the front of the spine, rounded nose pointing forward.
06
STEP 6 OF 9
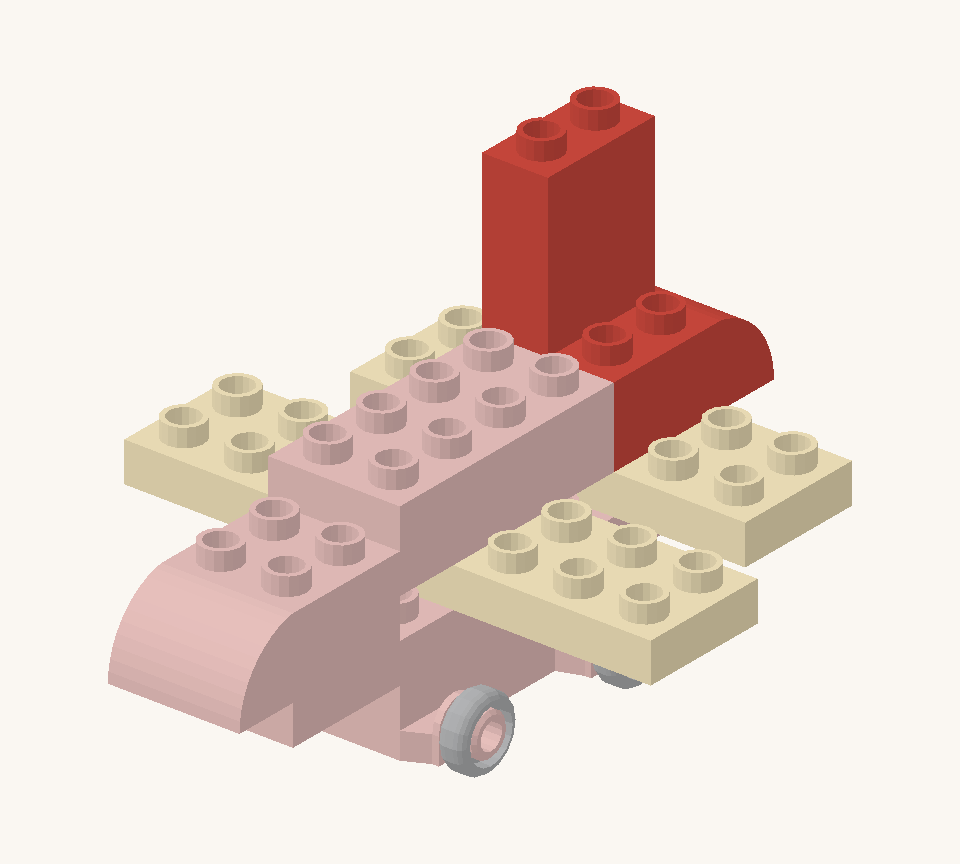
Set a red curve along the centre of the tailplane with its rounded end pointing backward. Put the narrow red wall brick on its two flat rows as an upright tail fin.
07
STEP 7 OF 9
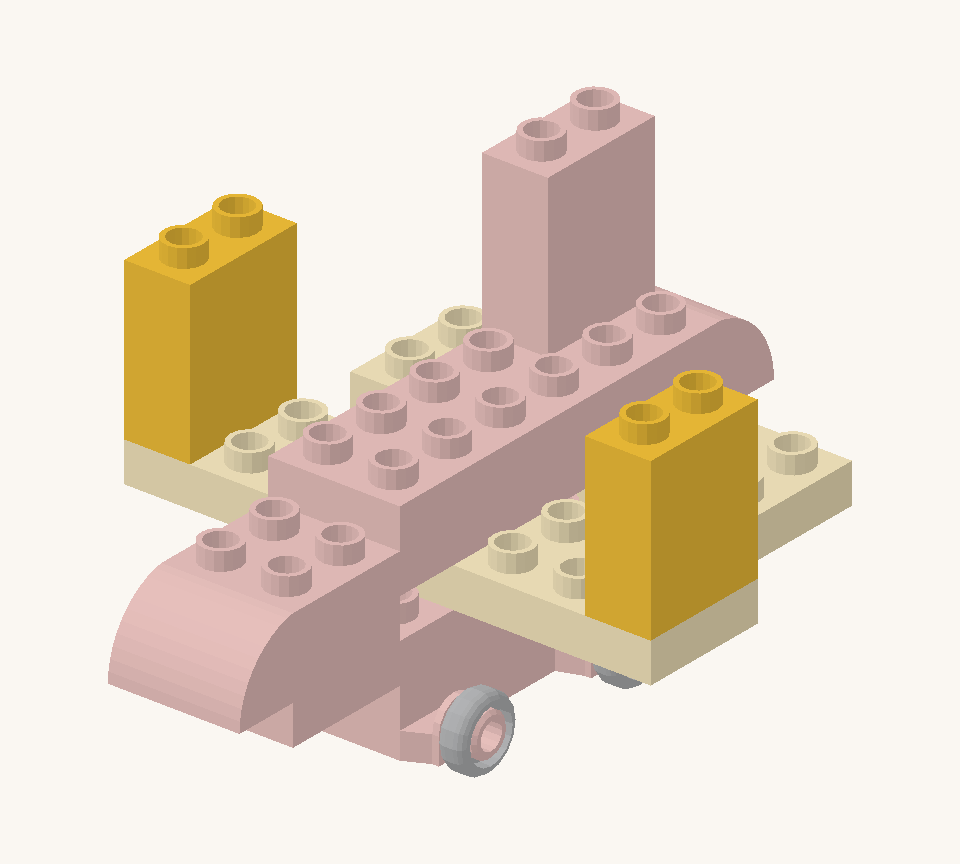
Stand a yellow wall brick at each end of the lower wing. These two struts support the upper wing.
08
STEP 8 OF 9
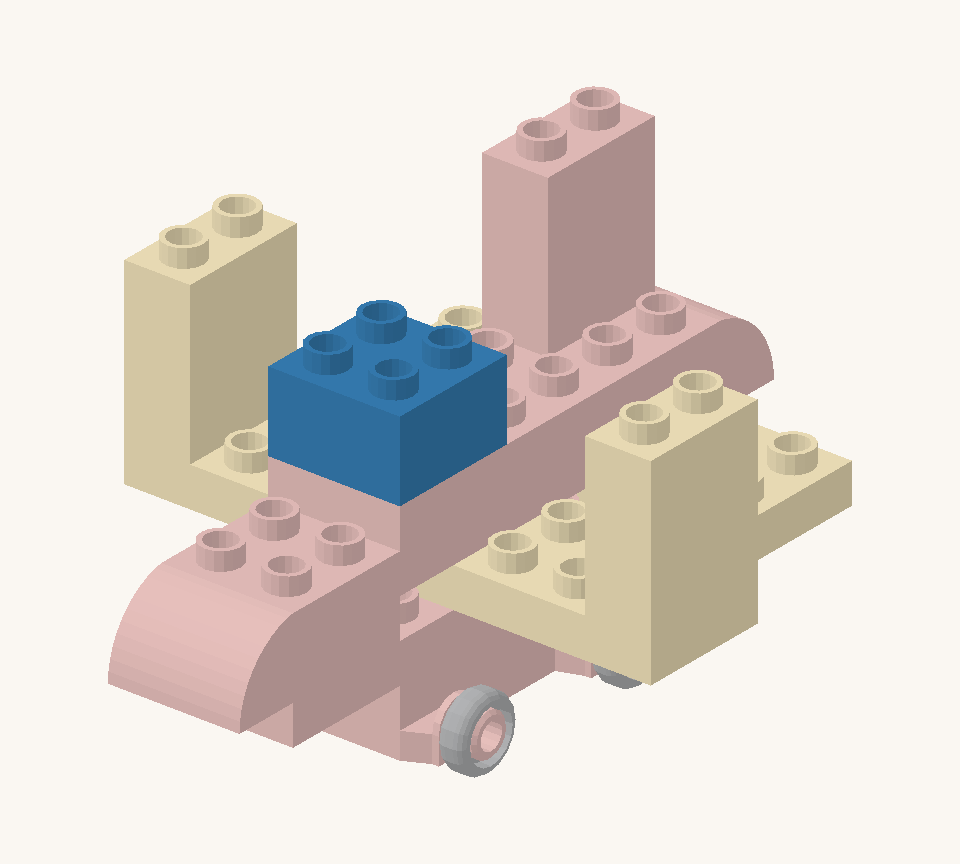
Add the blue square to the front half of the red body for the cockpit.
09
STEP 9 OF 9
Bridge the two struts with the yellow long plate. Line it up with the lower wing; its front row also connects to the cockpit.
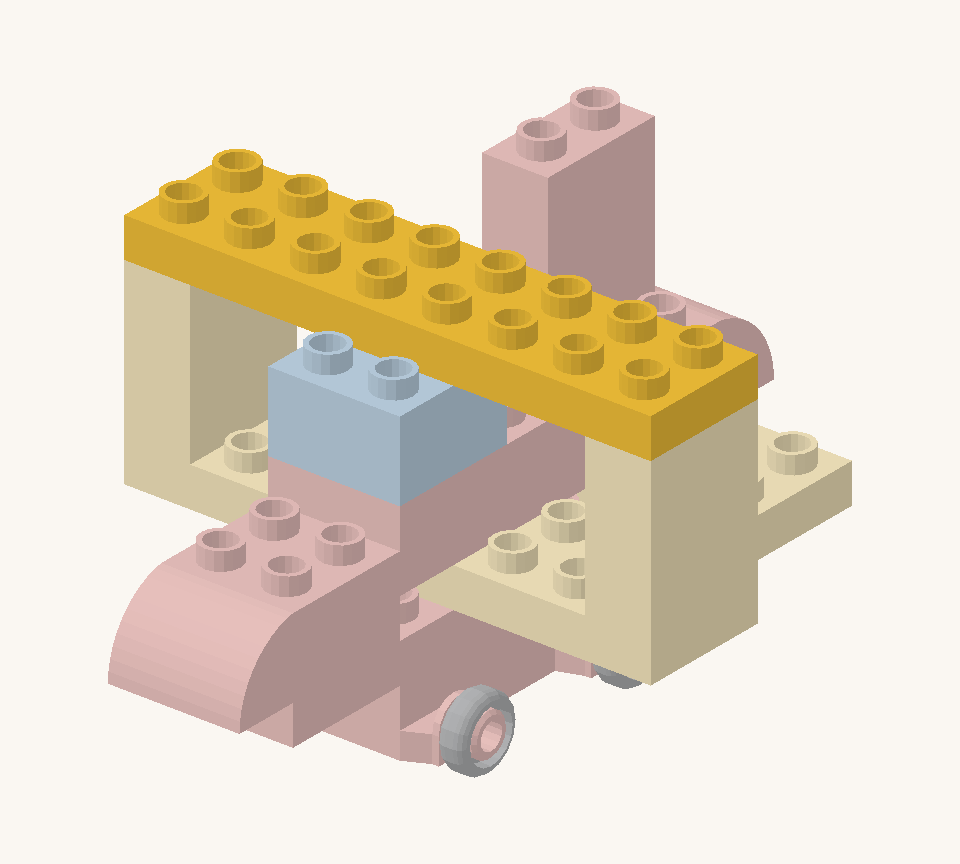
THE LAST STEP OF THE GUIDE
Room for a little more imagination.
Choose a landing spot and make up a message from your pilot.
Tell us how your build went
KEEP THE IMAGINATION GOING


