LET’S BUILD TOGETHER
Little duck
8 pieces 6 steps · One little step at a time.
See all the pieces
A LITTLE PREPARATION
Gather your pieces
Use whichever colours you have. Check the shapes before you start.
8pieces in total
See the original colours
Your checklist stays on this device when browser storage is available.
01
STEP 1 OF 6
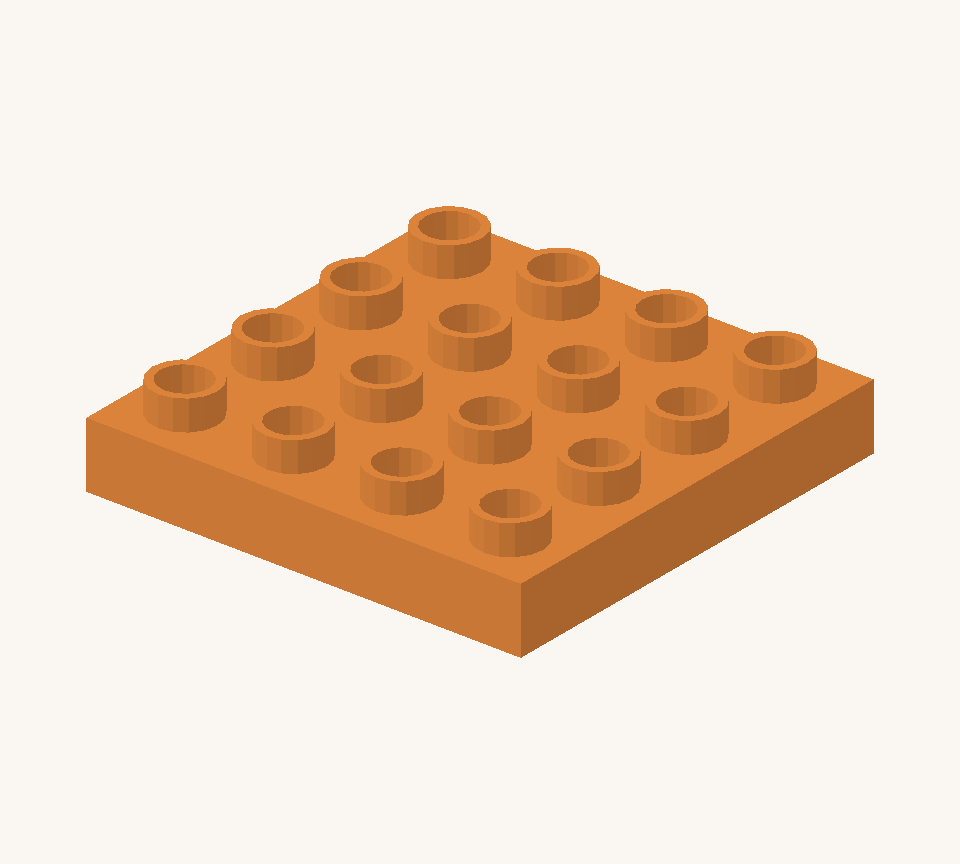
Place the orange square plate on the table for the feet.
02
STEP 2 OF 6
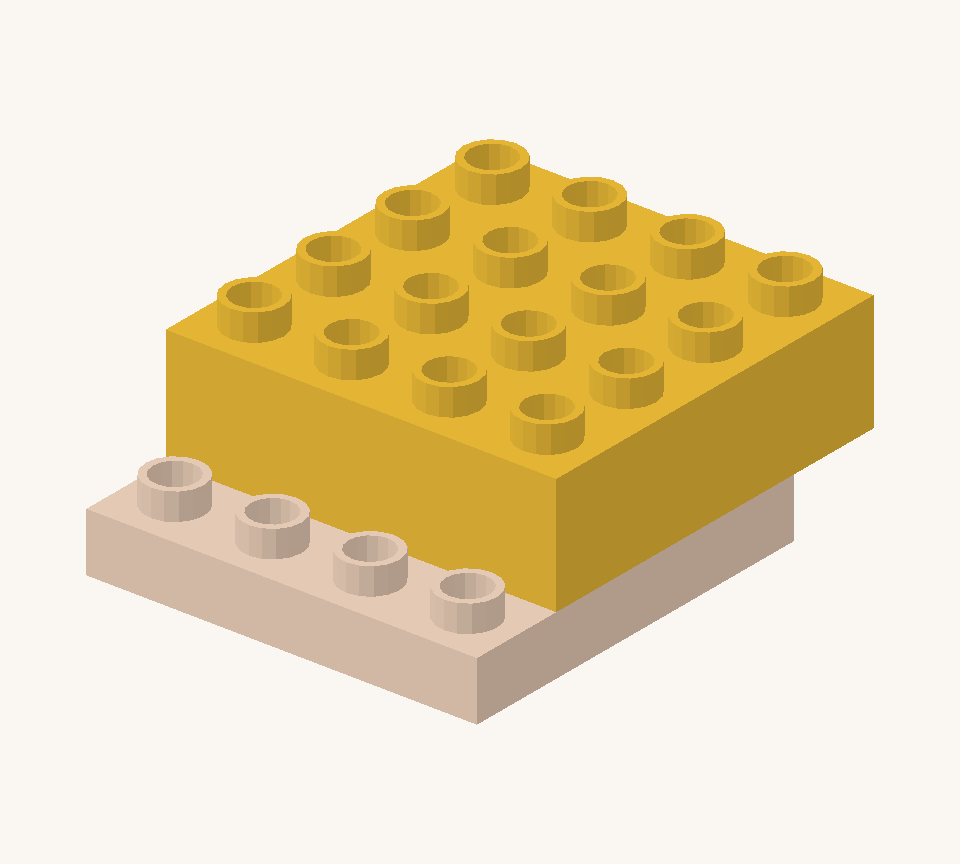
Make the yellow body with two long bricks across the feet, side by side. The body projects one row behind the feet; one orange row remains showing at the front.
03
STEP 3 OF 6
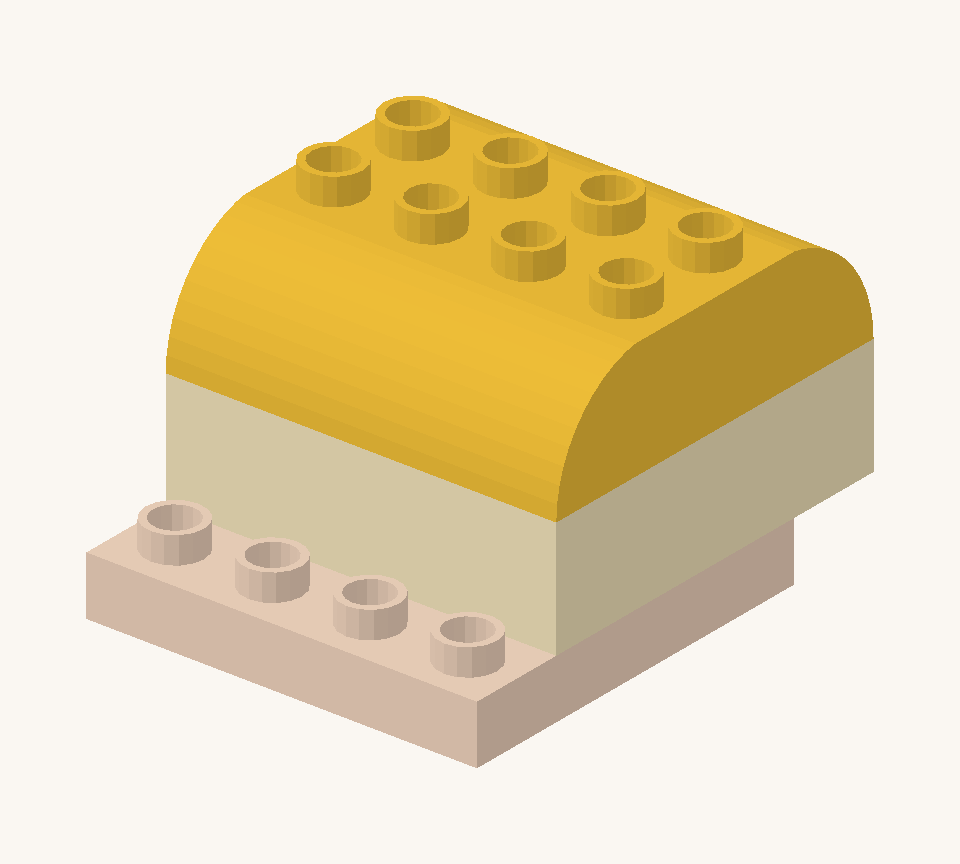
Add two yellow double-curved bricks along the body, with their rounded ends facing the front and back.
04
STEP 4 OF 6
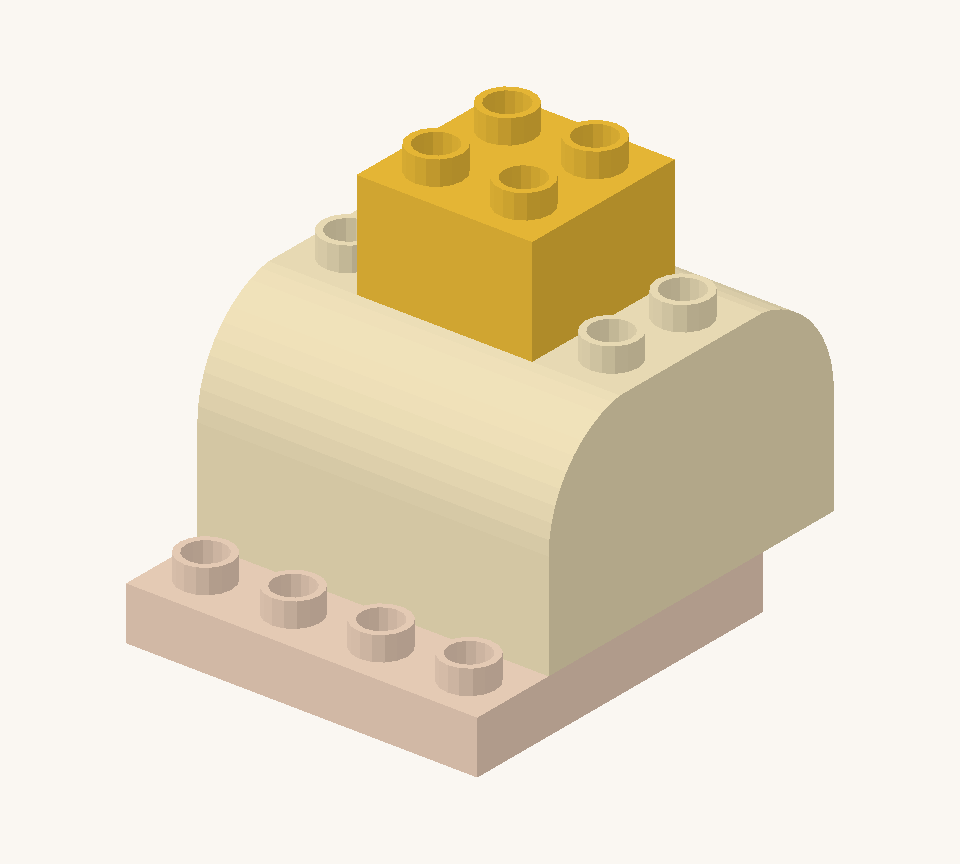
Centre the yellow square on the body for the head. It joins the two curved bricks.
05
STEP 5 OF 6
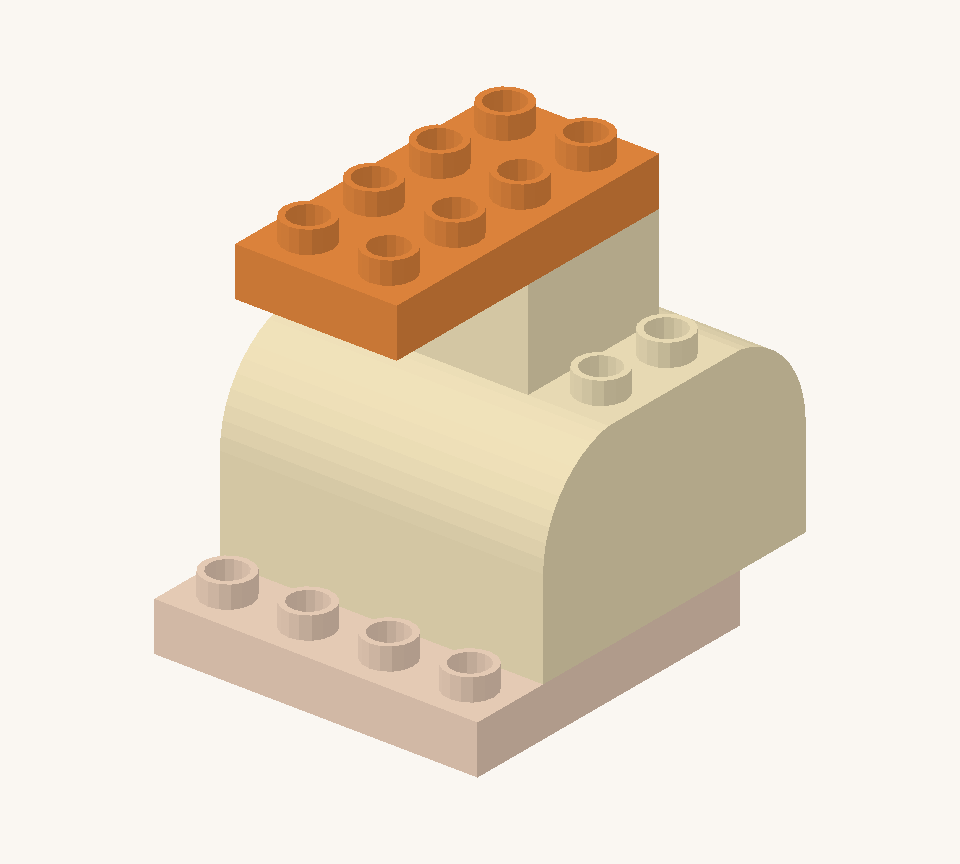
Place the orange small plate on the head for the bill. Its back edge lines up with the head; two rows project forward.
06
STEP 6 OF 6
Add the yellow curve above the bill, with its rounded end facing forward. Leave the last orange row showing as the beak.
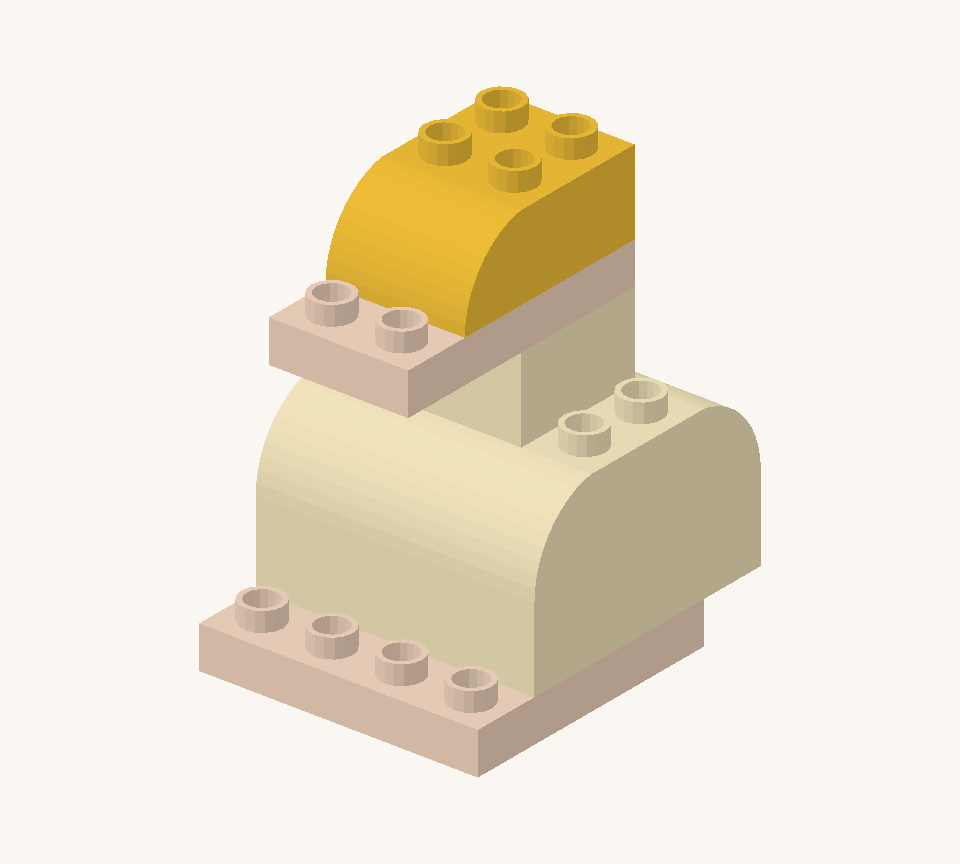
THE LAST STEP OF THE GUIDE
Room for a little more imagination.
Make a pretend pond from a blue cloth. Where will your duck paddle next?
Tell us how your build went
KEEP THE IMAGINATION GOING