LET’S BUILD TOGETHER
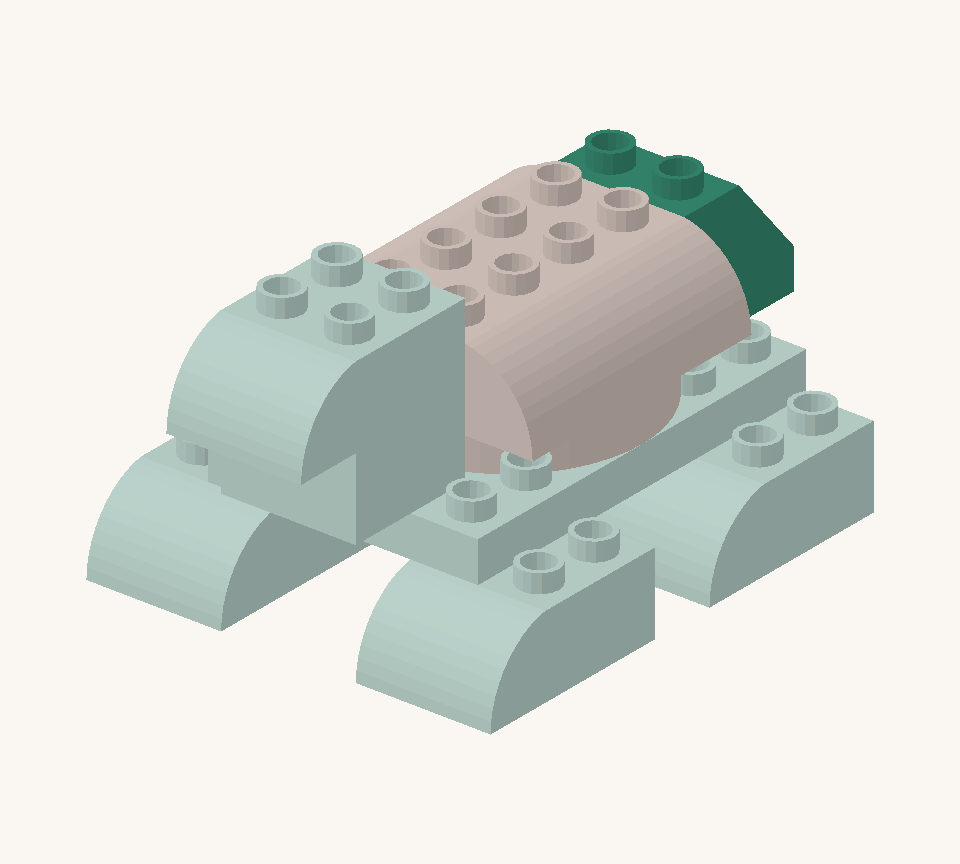
Sleepy turtle
11 pieces 7 steps · One little step at a time.
See all the pieces
A LITTLE PREPARATION
Gather your pieces
Use whichever colours you have. Check the shapes before you start.
11pieces in total
See the original colours
Your checklist stays on this device when browser storage is available.
01
STEP 1 OF 7
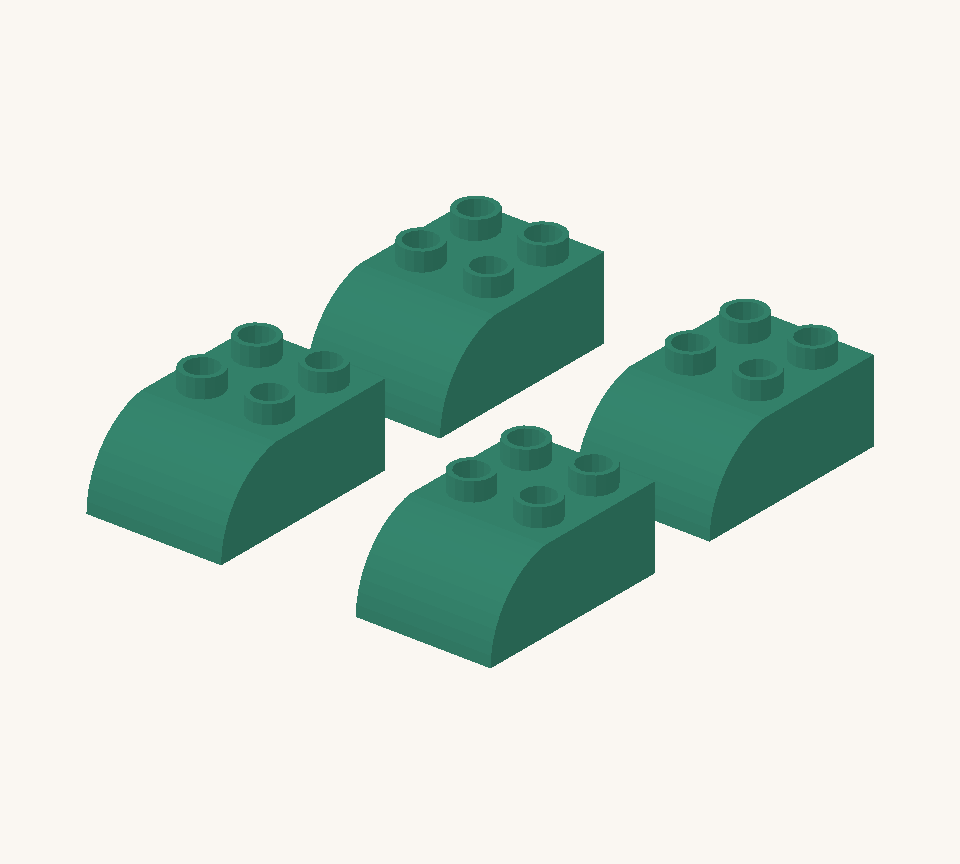
Set out four green curved feet in two pairs. Leave two stud columns between left and right feet, and one clear row between the back and front pairs. Point all rounded toes forward.
02
STEP 2 OF 7
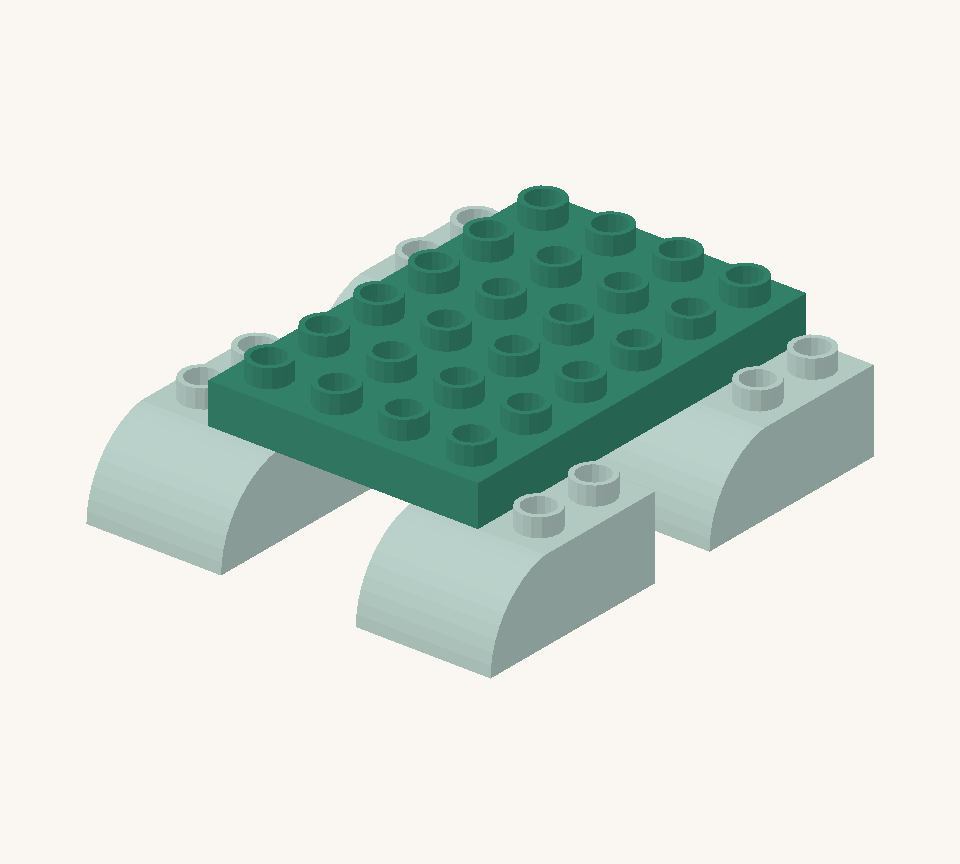
Join the feet with the green wide plate. Centre its four-stud width between the feet; its six-stud length covers the flat rows of all four feet.
03
STEP 3 OF 7
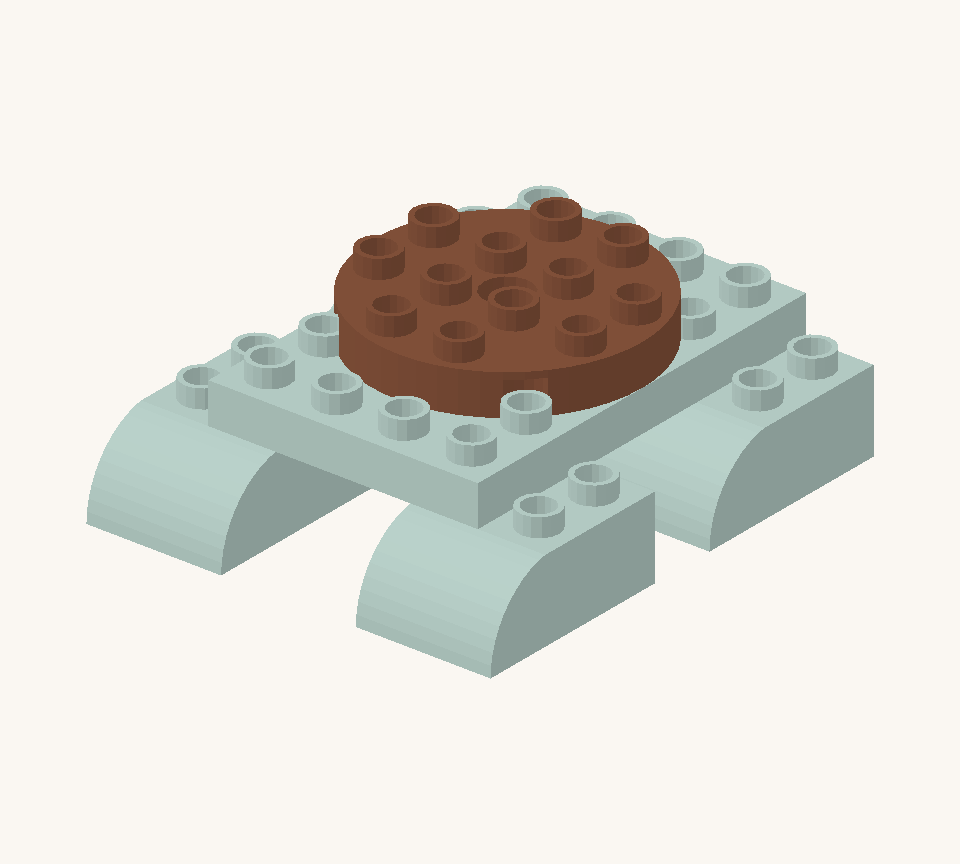
Centre the brown round plate on the body, leaving one green row clear at the back and front.
04
STEP 4 OF 7
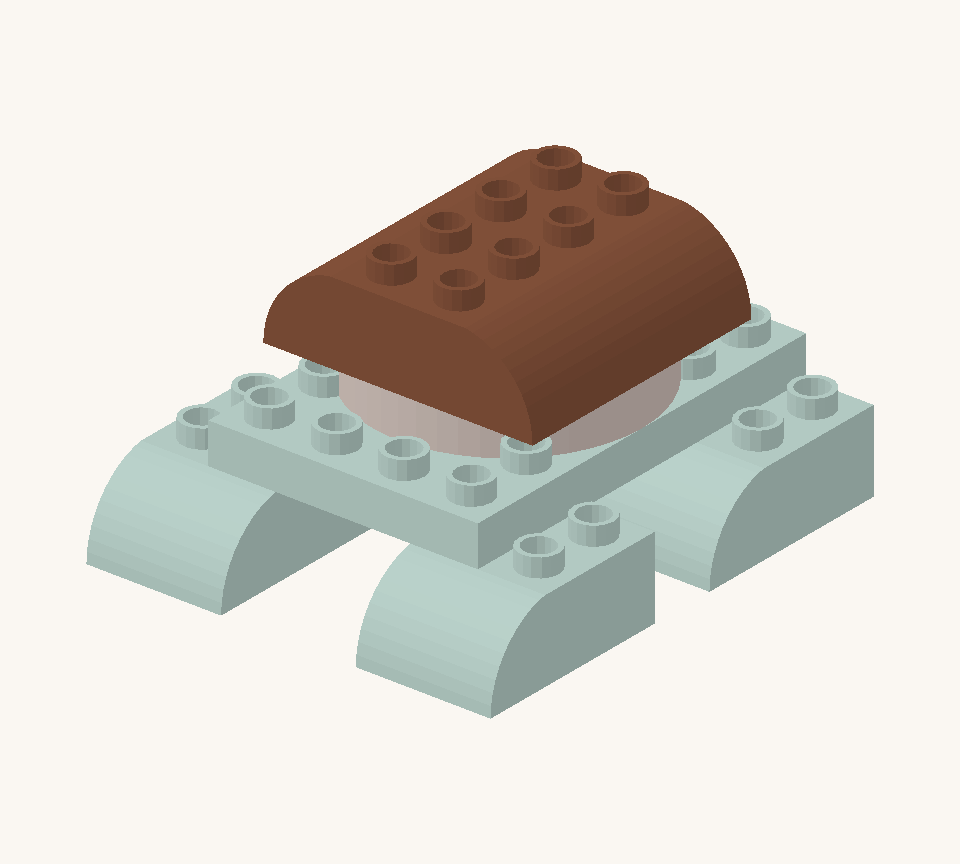
Cover the shell with two brown double-curved bricks turned across the turtle, one behind the other.
05
STEP 5 OF 7
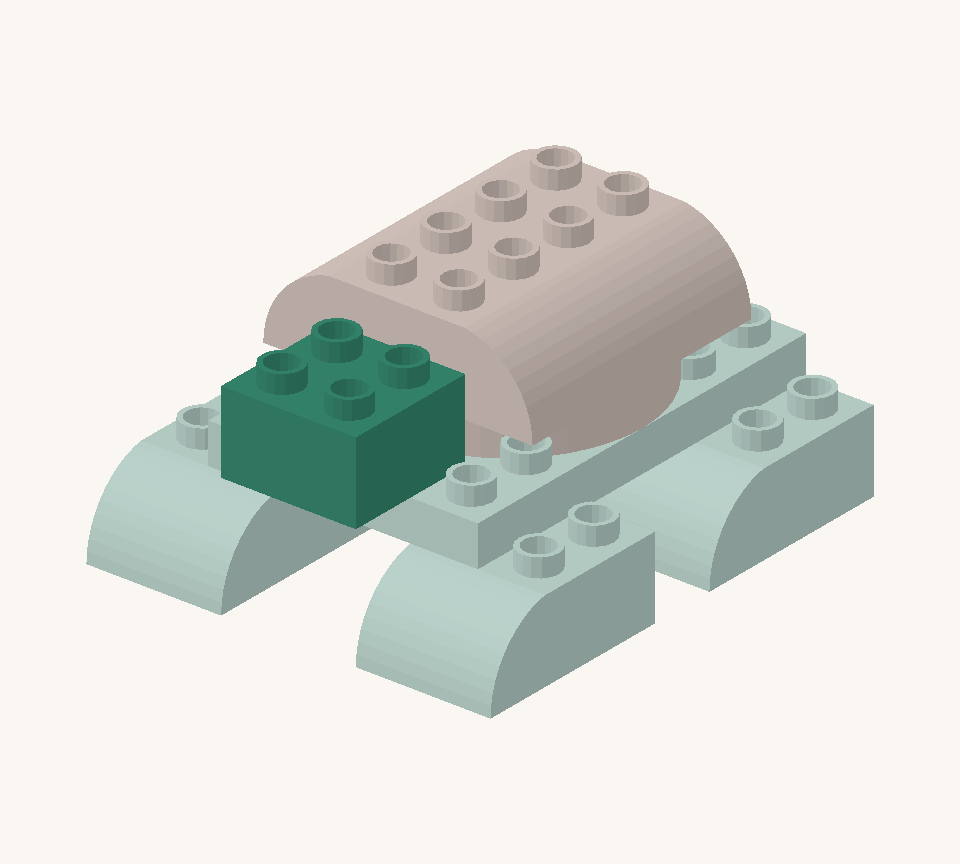
Add the green square at the front for the neck. Its back row rests on the exposed green body row; its front row projects forward.
06
STEP 6 OF 7
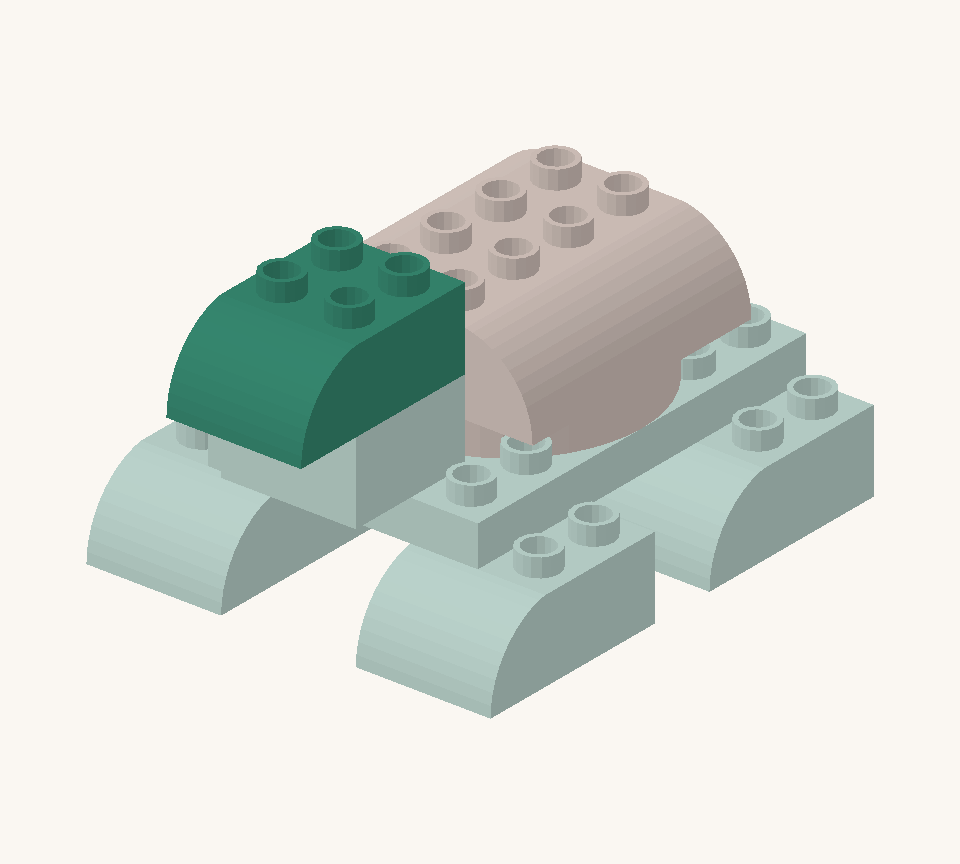
Add a green curve to the neck, with the rounded end projecting forward as the sleepy head.
07
STEP 7 OF 7
Finish with the small green slope at the back. Its high row attaches to the body and its low end points backward as the tail.
THE LAST STEP OF THE GUIDE
Room for a little more imagination.
Give your turtle a name, then make a leafy path for a very slow adventure.
Tell us how your build went
KEEP THE IMAGINATION GOING